Apache ShenYu 启动示例
· One min read
环境准备
- 本地正确安装JDK1.8+
- 本地正确安装Git
- 本地正确安装Maven
- 选择一款开发工具,比如IDEA
拉取ShenYu代码
使用Git拉取代码
git clone https://github.com/apache/incubator-shenyu.git
编译代码
使用Maven进行编译
cd incubator-shenyu
mvn clean install -Dmaven.javadoc.skip=true -B -Drat.skip=true -Djacoco.skip=true -DskipITs -DskipTests
启动网关服务
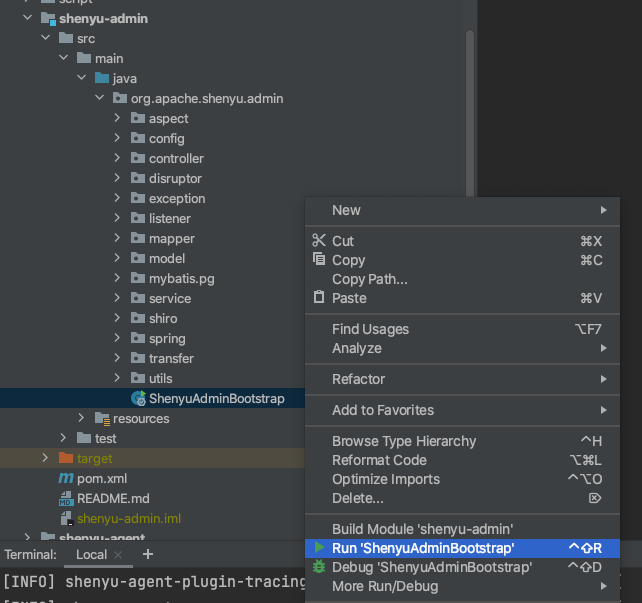
使用开发工具,以IDEA为例。
启动 shenyu-admin 控制台(默认使用H2数据库)
启动 shenyu-bootstrap
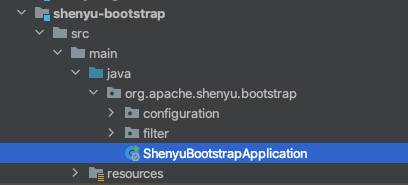
到这一步,shenyu网关已经启动。
我们可以打开浏览器,访问admin控制台:http://localhost:9095/
启动应用服务
Apache ShenYu提供了Http、Dubbo、SpringCloud等应用接入shenyu网关的样例,位于 shenyu-example 模块,这里以Http服务为例。
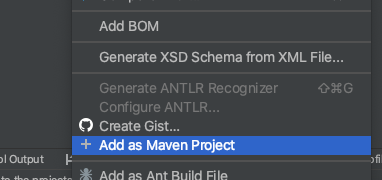
若 shenyu-example 未被IDEA标记为Maven项目,可以右键点击 shenyu-example 目录下的 pom.xml 文件,将其添加为Maven项目。
启动 shenyu-examples-http。
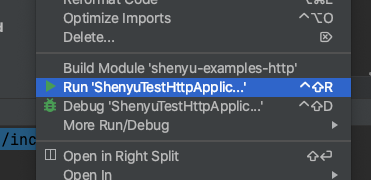
这时,shenyu-examples-http 会自动把加 @ShenyuSpringMvcClient 注解的接口方法,以及application.yml中的相关配置注册到网关。我们打开admin控制台,即可在divide、context_path中看到相关配置。
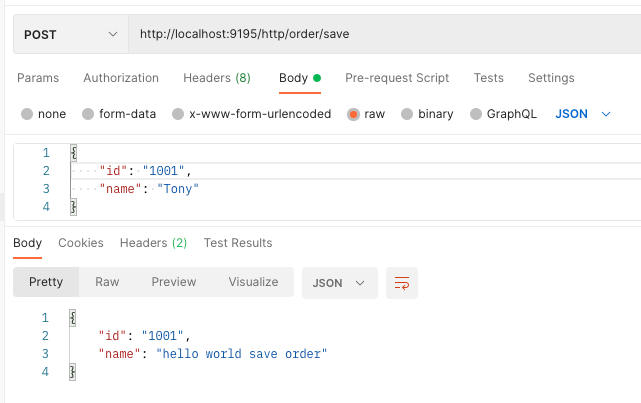
测试Http请求
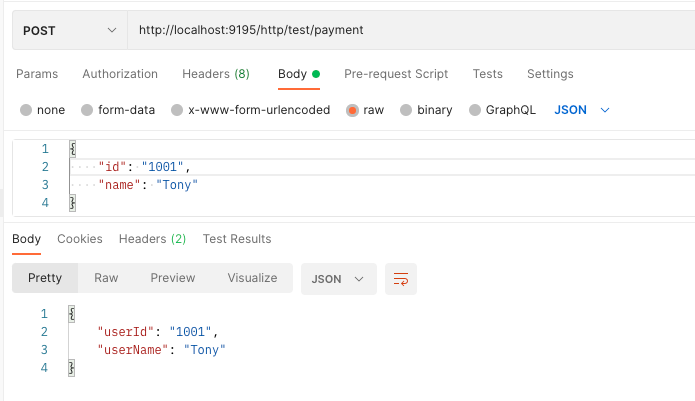
下面使用postman模拟http的方式来请求你的http服务:
使用更多插件
我们可以参考 官方文档,来使用其他的插件。
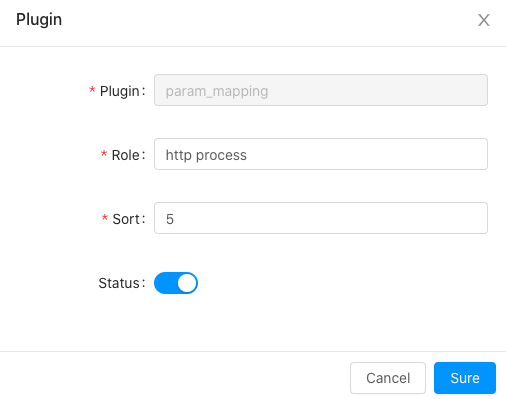
这里以使用 param-mapping 插件为例。
在 BasicConfig -> Plugin 编辑 param-mapping 插件,设置 status。
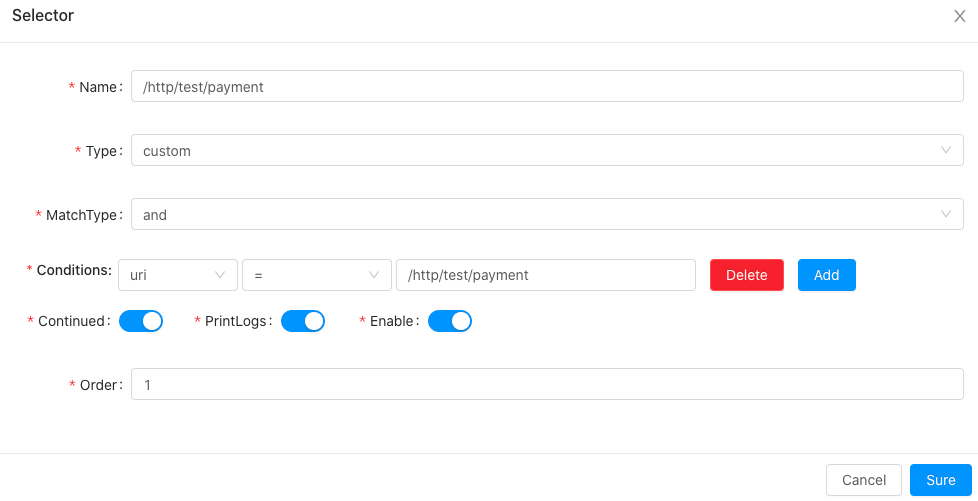
在 PluginList -> http process 配置选择器和规则。
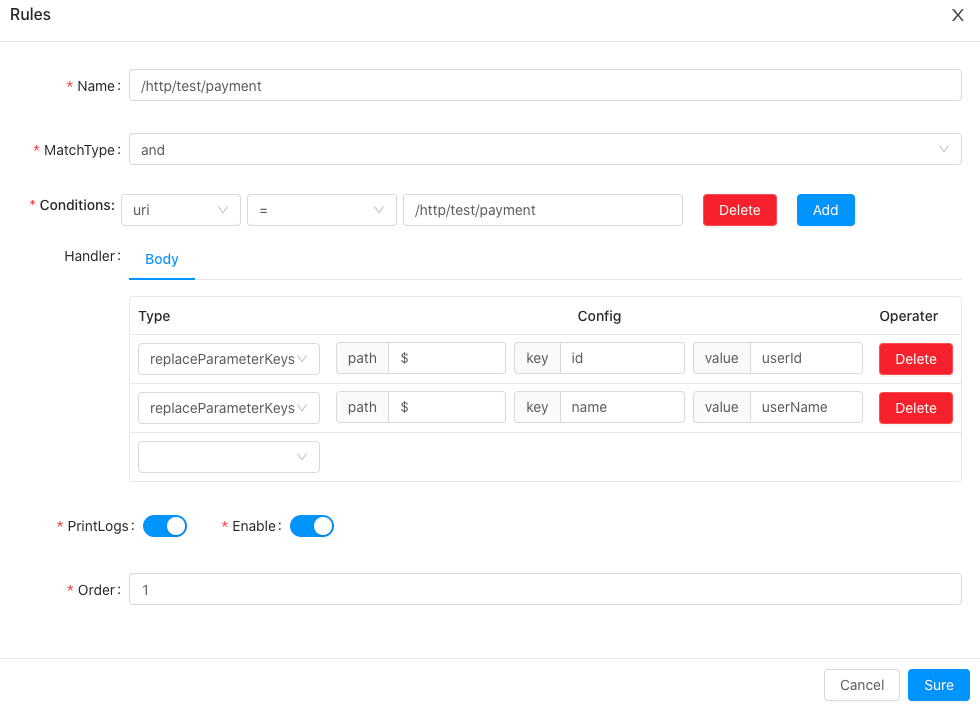
然后使用 postman 向 /http/test/payment 发起http请求。
