Websocket快速开始
本文档演示如何将Websocket服务接入到Apache ShenYu网关。
环境准备
参考运维部署的内容,部署 Shenyu 网关
- 部署
shenyu-admin服务
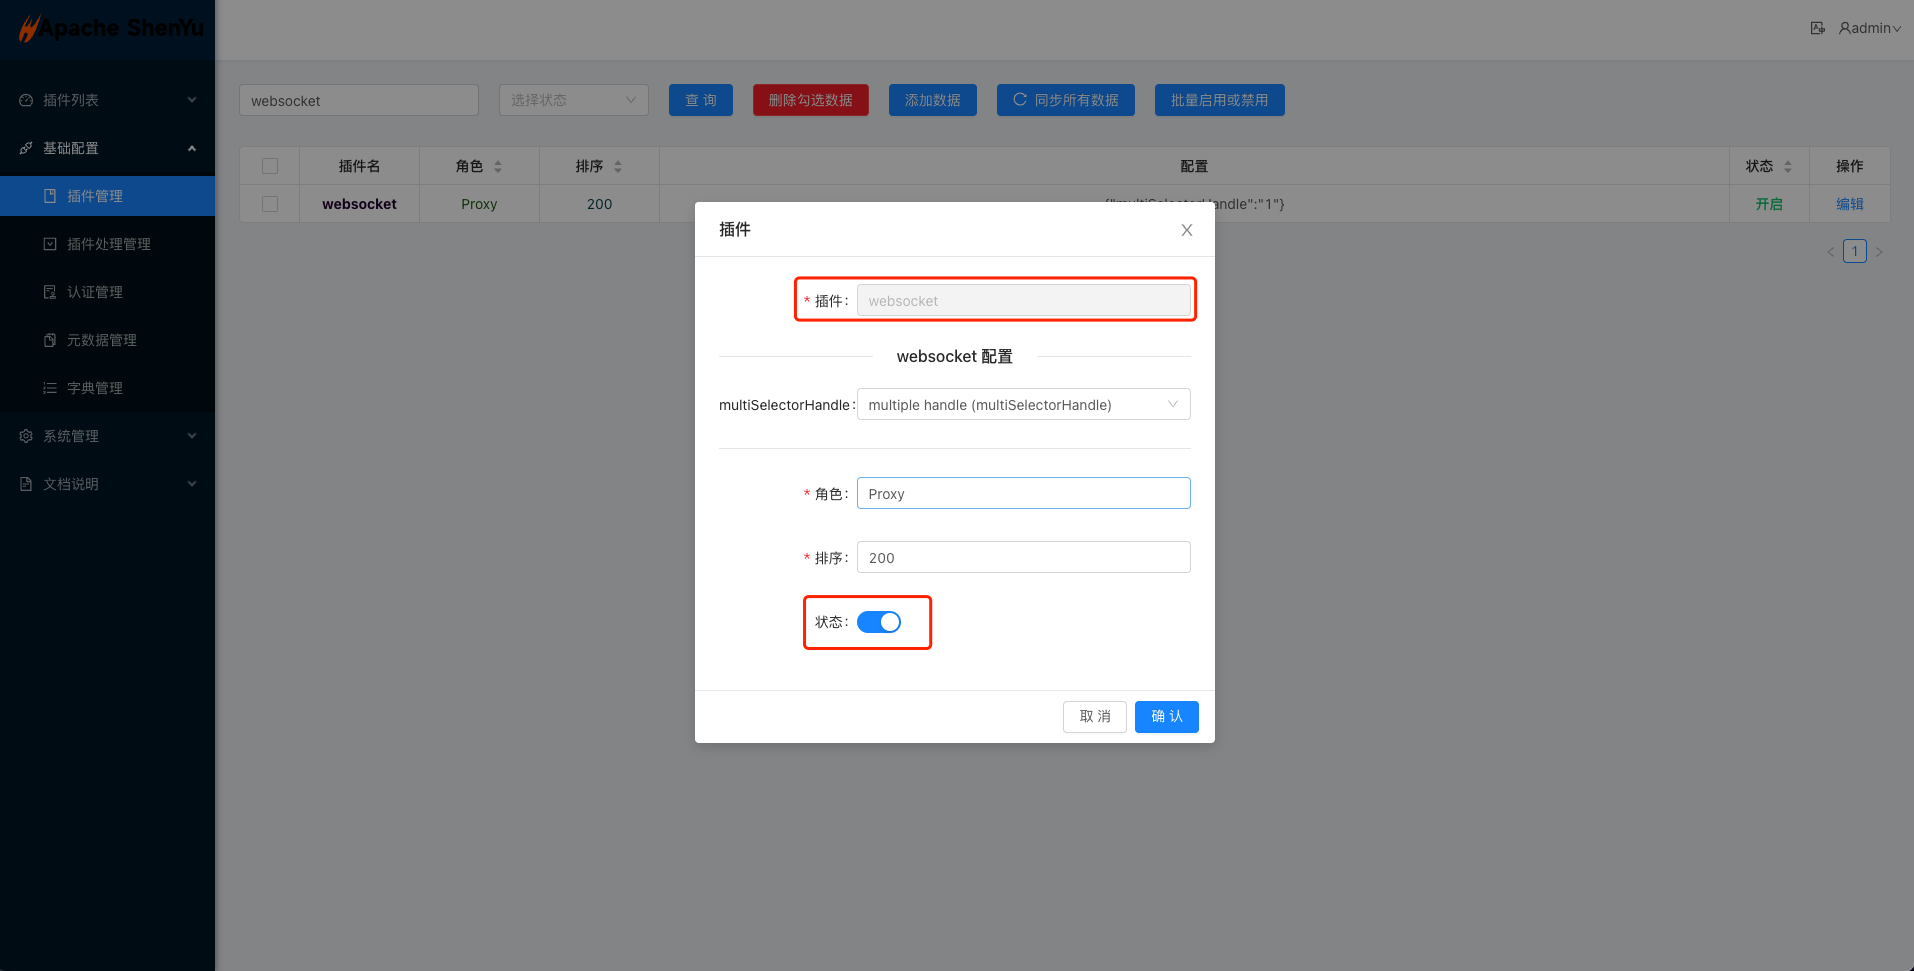
- 启动成功后,需要在页面的基础配置
->插件管理中,把Websocket插件设置为开启。
- 部署
shenyu-bootstrap服务
- 启动之后
shenyu-bootstrap会根据shenyu.sync.websocket.url配置的地址,通过websocket协议进行数据同步
注意:在启动前,请确保网关已经引入相关依赖,默认已引入该依赖。
引入网关对Websocket的代理插件,在网关的 pom.xml 文件中增加如下依赖:
        <!--shenyu websocket plugin start-->
        <dependency>
            <groupId>org.apache.shenyu</groupId>
            <artifactId>shenyu-spring-boot-starter-plugin-websocket</artifactId>
            <version>${project.version}</version>
        </dependency>
运行shenyu-examples-websocket项目
-
下载 shenyu-examples-websocket(
native-websocket和reactive-websocket可以参考shenyu-examples-websocket 下的子项目) -
运行
org.apache.shenyu.examples.websocket.TestAnnotationWebsocketApplicationmain方法启动项目。
- examples项目会根据
shenyu.register.serverLists配置的地址,通过http协议将 websocket 服务的信息同步给shenyu-admin, 之后再由shenyu-admin同步给shenyu-bootstrap。
成功启动会有如下日志:
2022-08-09 23:37:34.994  INFO 61398 --- [or_consumer_-21] o.a.s.r.client.http.utils.RegisterUtils  : metadata client register success: {"appName":"ws-annotation","contextPath":"/ws-annotation","path":"/ws-annotation/myWs","rpcType":"websocket","ruleName":"/ws-annotation/myWs","enabled":true,"pluginNames":[],"registerMetaData":false,"timeMillis":1660059454701}
2022-08-09 23:37:35.019  INFO 61398 --- [or_consumer_-18] o.a.s.r.client.http.utils.RegisterUtils  : uri client register success: {"protocol":"ws://","appName":"ws-annotation","contextPath":"/ws-annotation","rpcType":"websocket","host":"192.168.1.3","port":8001}
测试websocket请求
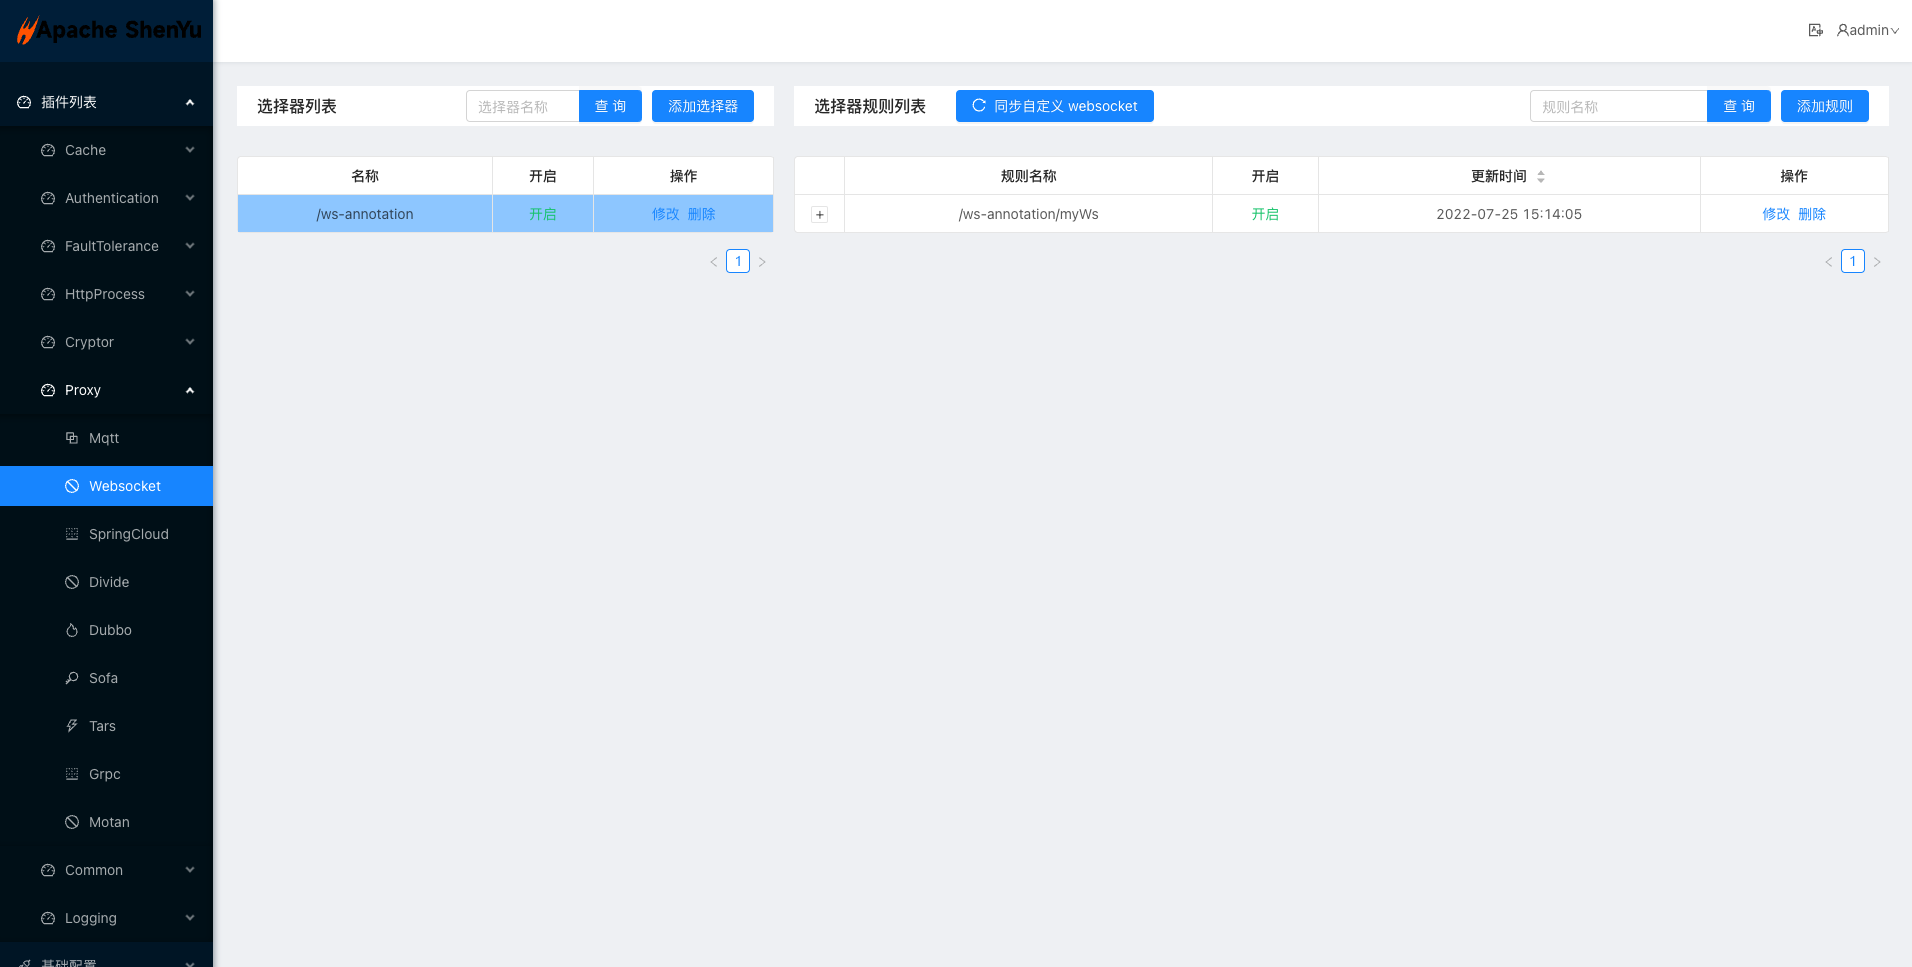
shenyu-examples-websocket项目成功启动之后会自动把加@ShenyuSpringWebSocketClient注解的接口方法注册到网关,并添加选择器和规则,可以通过访问shenyu-admin页面 -> 插件列表 -> Proxy -> Websocket 看到shenyu-examples-websocket服务注册的信息,如果没有,可以参考Websocket插件手动添加配置。
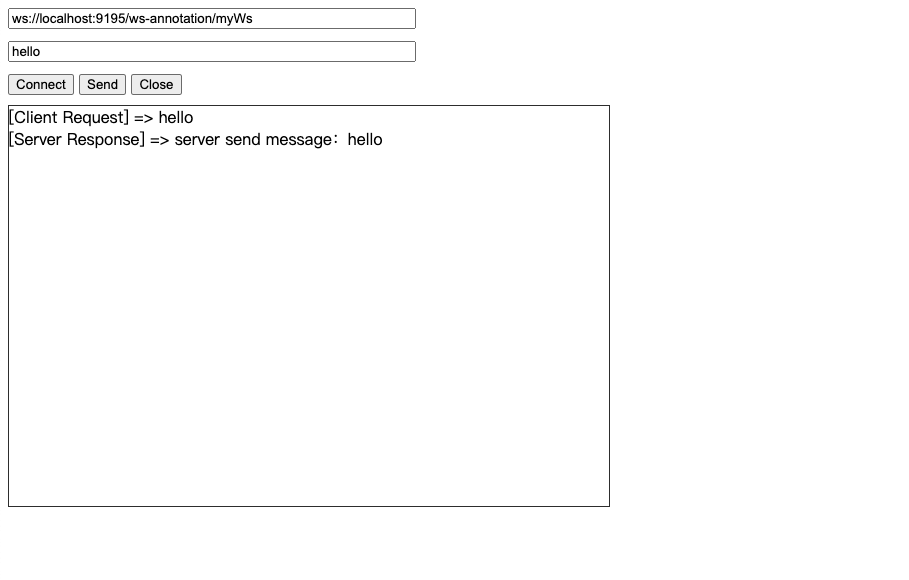
- 下面使用测试代码(见附件)模拟
Websocket协议的请求方式来请求你的Websocket服务。
附件
websocket调试代码
- 创建一个名为 websocket.html 的文件,复制下面的代码到文件中
- 使用谷歌浏览器打开 websocket.html
<!DOCTYPE HTML>
<html>
<head>
    <meta http-equiv="content-type" content="text/html" />
    <title>Shenyu WebSocket Test</title>
    <script>
        var websocket;
        function connect() {
            try {
                websocket = new WebSocket(document.getElementById("url").value);
                websocket.onopen = onOpen;
                websocket.onerror = onError;
                websocket.onmessage = onReceive;
                websocket.onclose = onClose;
            } catch (e) {
                alert('[websocket] establish connection error.');
            }
        }
        function onOpen() {
            alert('[websocket] connect success.');
        }
        function onError(e) {
            alert("[websocket] connect error. code: " + e.code);
        }
        function onReceive(msg) {
            var show = document.getElementById("show");
            show.innerHTML += "[Server Response] => " + msg.data + "<br/>";
            show.scrollTop = show.scrollHeight;
        }
        function onClose(e) {
            console.log("[websocket] connect closed. code: " + e.code)
            alert("[websocket] connect closed.");
            document.getElementById("show").innerHTML = "";
            document.getElementById("msg").value = "";
            websocket = null;
        }
        function buttonClose() {
            if (websocket == null) {
                console.log("Please establish a connection first.")
            } else {
                websocket.close(1000);
                document.getElementById("show").innerHTML = "";
                document.getElementById("msg").value = "";
            }
        }
        function send() {
            if (websocket == null) {
                alert("Please establish a connection first.")
            } else {
                var msg = document.getElementById("msg").value;
                show.innerHTML += "[Client Request] => " + msg + "<br/>";
                websocket.send(msg);
            }
        }
    </script>
</head>
<body>
    <input id="url" type="text" value="ws://localhost:9195/ws-annotation/myWs"><br />
    <input id="msg" type="text"><br />
    <button id="connect" onclick="connect();">Connect</button>
    <button id="send" onclick="send();">Send</button>
    <button id="close" onclick="buttonClose();">Close</button></br>
    <div id="show" class="show"></div>
</body>
</html>
<style>
    input {
        width: 400px;
        margin-bottom: 10px;
    }
    .show {
        width: 600px;
        height: 400px;
        overflow-y: auto;
        border: 1px solid #333;
        margin-top: 10px;
    }
</style>