Namespace Management
1. Background and Explanation
Currently, when managing gateways for different business line needs, multiple sets of ShenYu Admin and ShenYu Gateway are often deployed simultaneously. To ensure data independence, each gateway usually connects to only one ShenYu Admin. However, this architecture increases user and operational costs. To provide a more convenient user experience, ShenYu Admin introduces namespaces for data isolation, allowing management of gateway data across different business lines with just one set of ShenYu Admin and ShenYu Bootstrap services.
Note: To facilitate usage, a default namespace already exists in the system; please do not manually delete the default namespace records in the database.
2.Namespace Creation and Enablement
1.Create a New Namespace
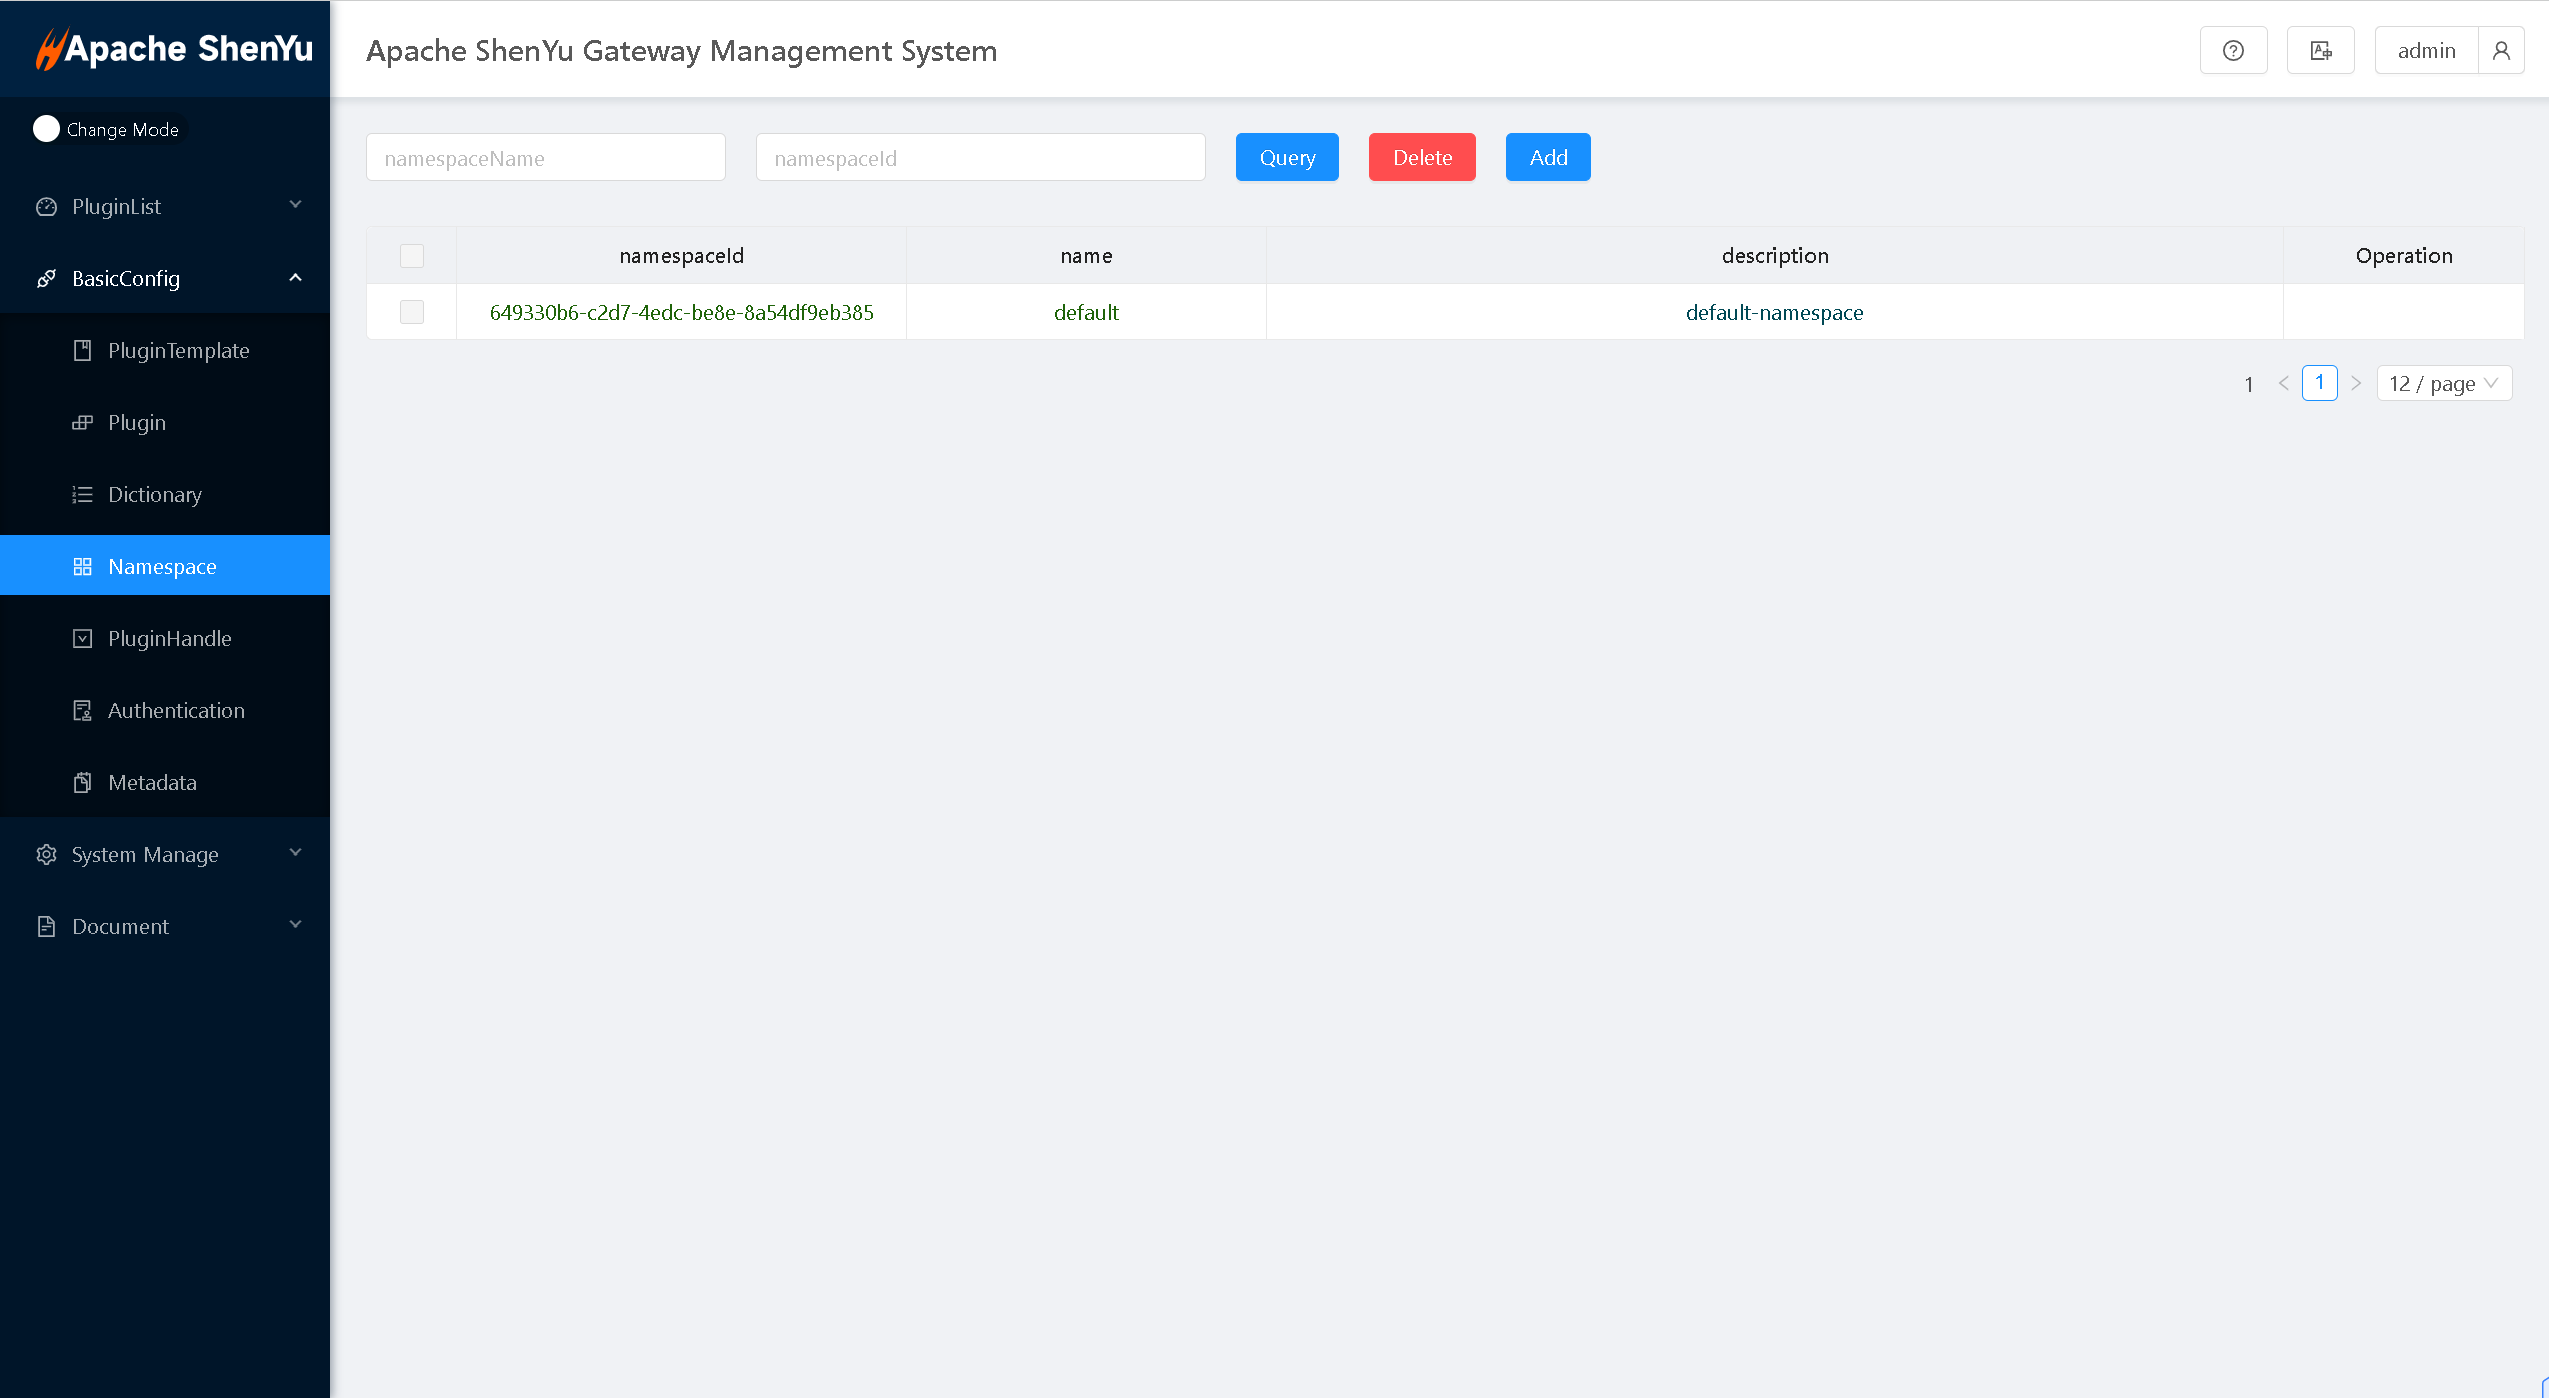
Users log into the ShenYu Admin backend and select 【Basic Config - Namespace】.
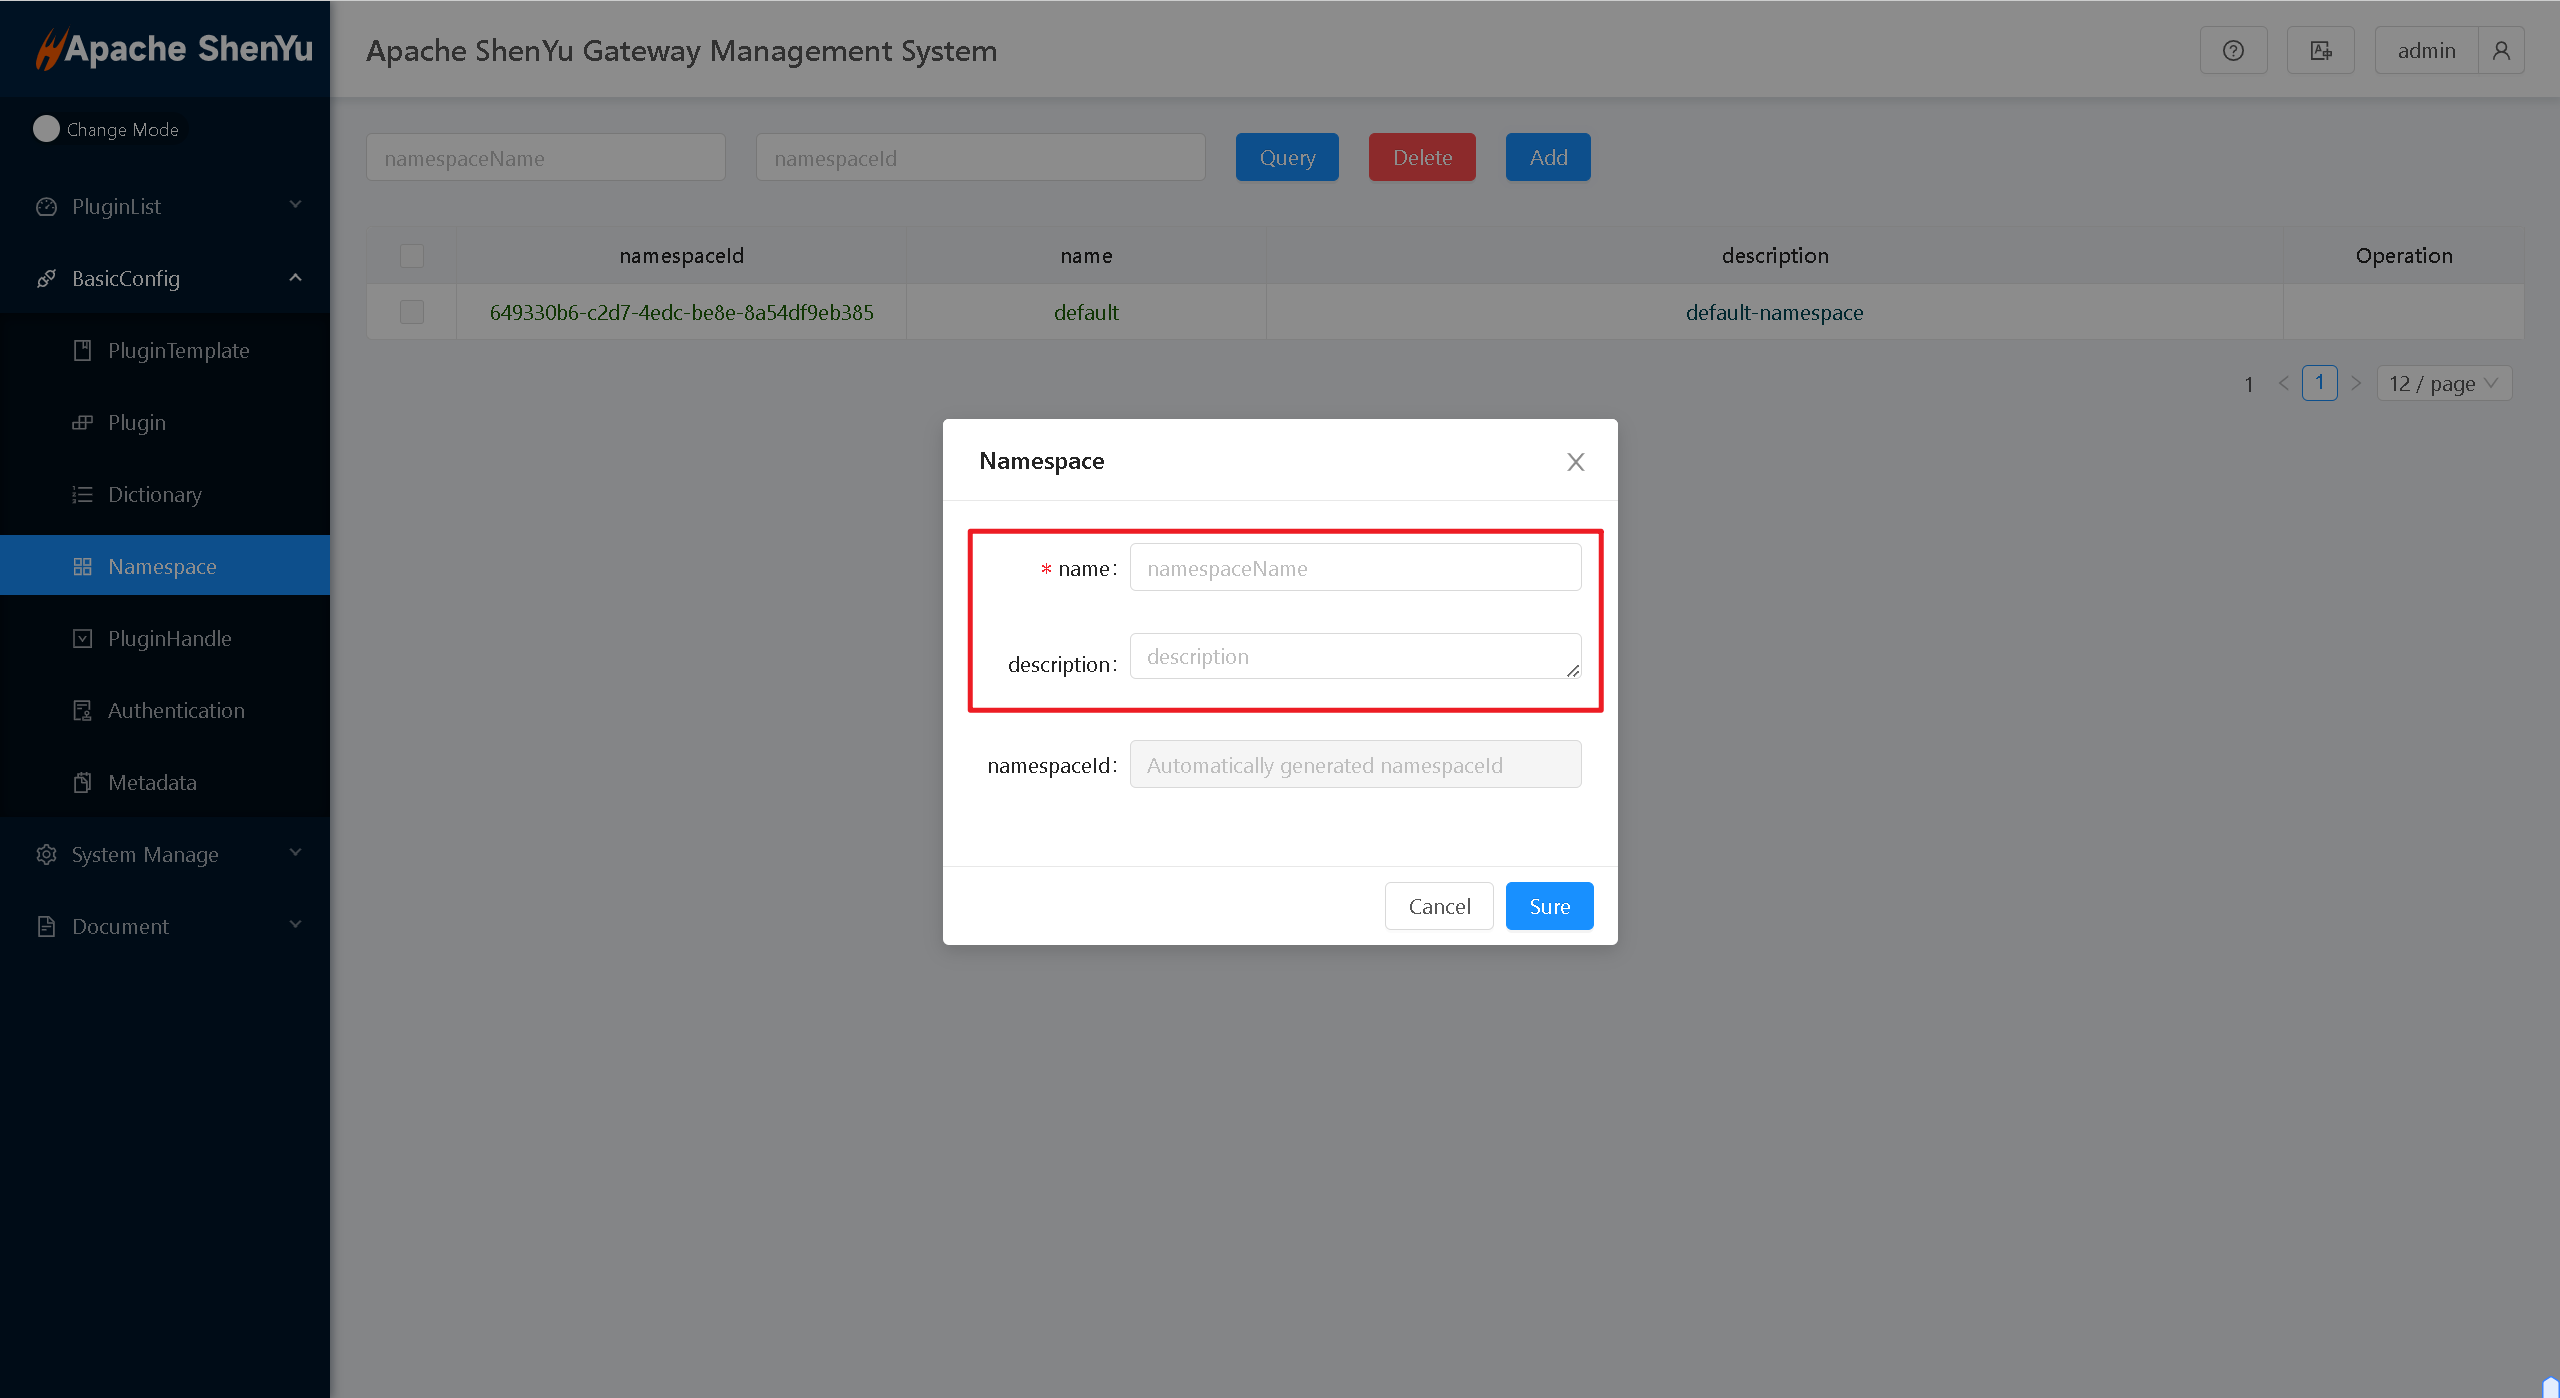
In the namespace management module, click Add Data to create a new namespace. Simply fill in the 【Name】 and 【Description】 fields; the system will automatically generate a namespaceId.
After successful creation, a unique namespaceId will be automatically generated.
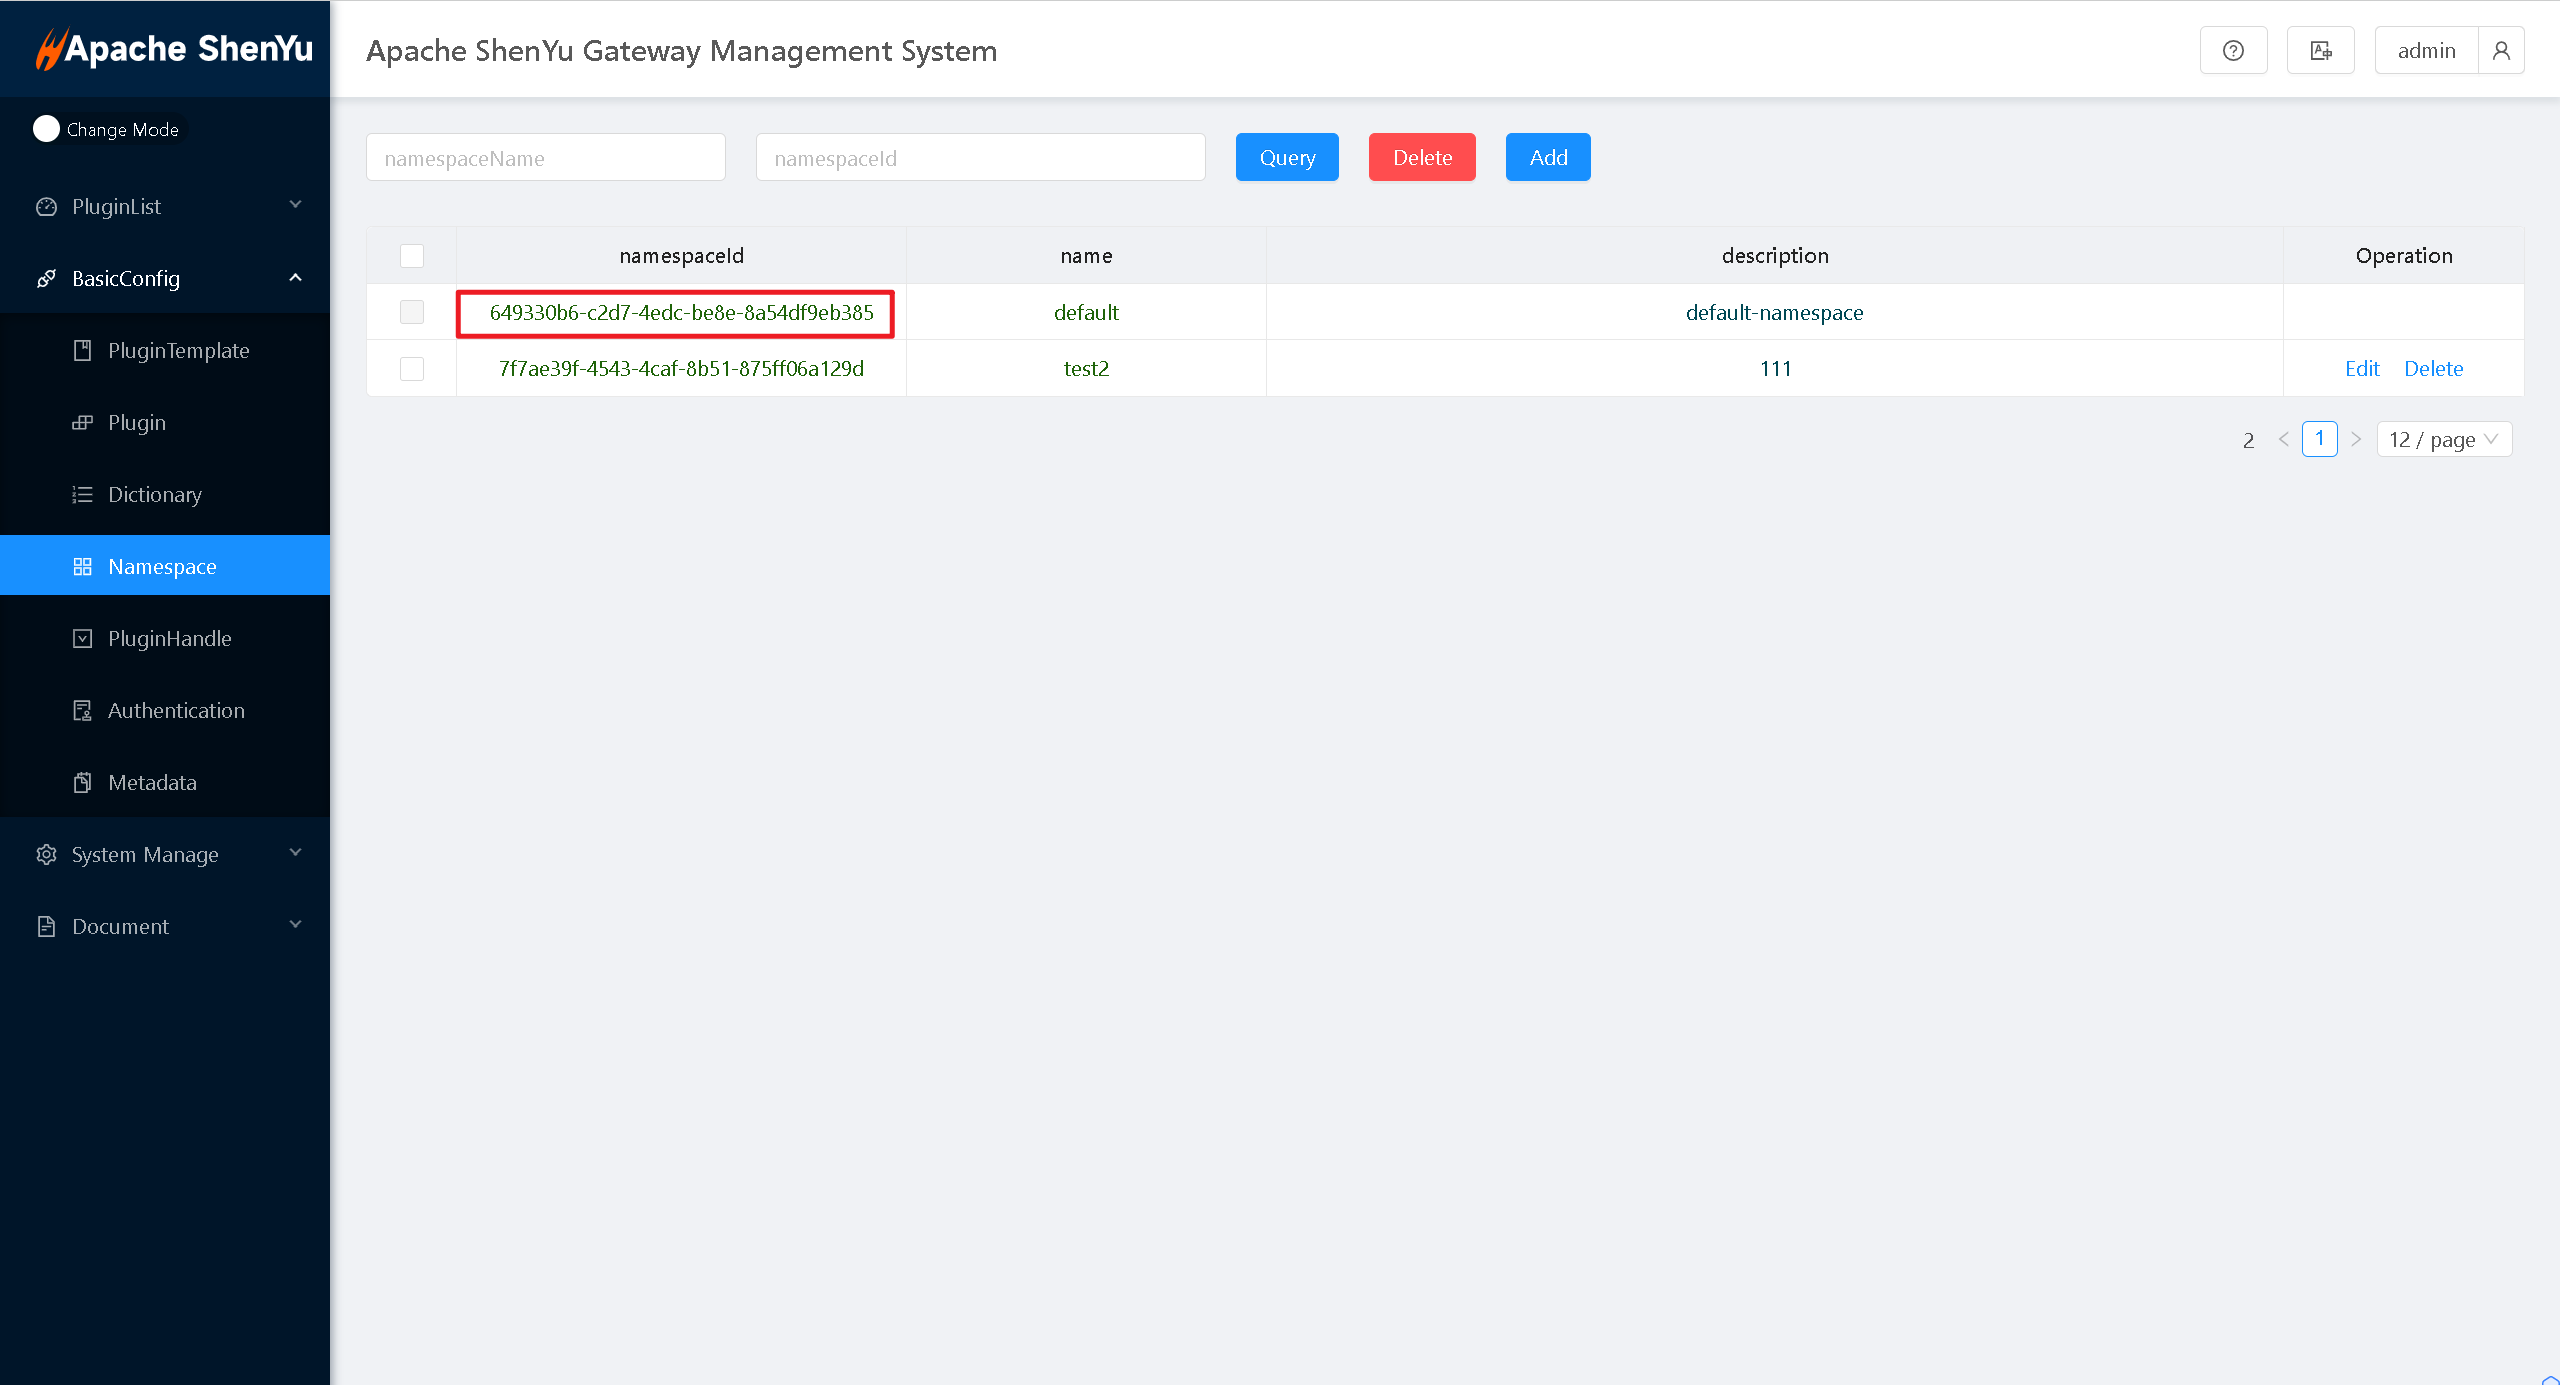
2.Configure Namespace for Downstream Services (shenyu-client)
Once you have the namespaceId, you can configure it in the downstream services (already integrated with shenyu-client) in the configuration file to use one or more namespaceIds.(Multiple namespaceIds should be separated by “;”)
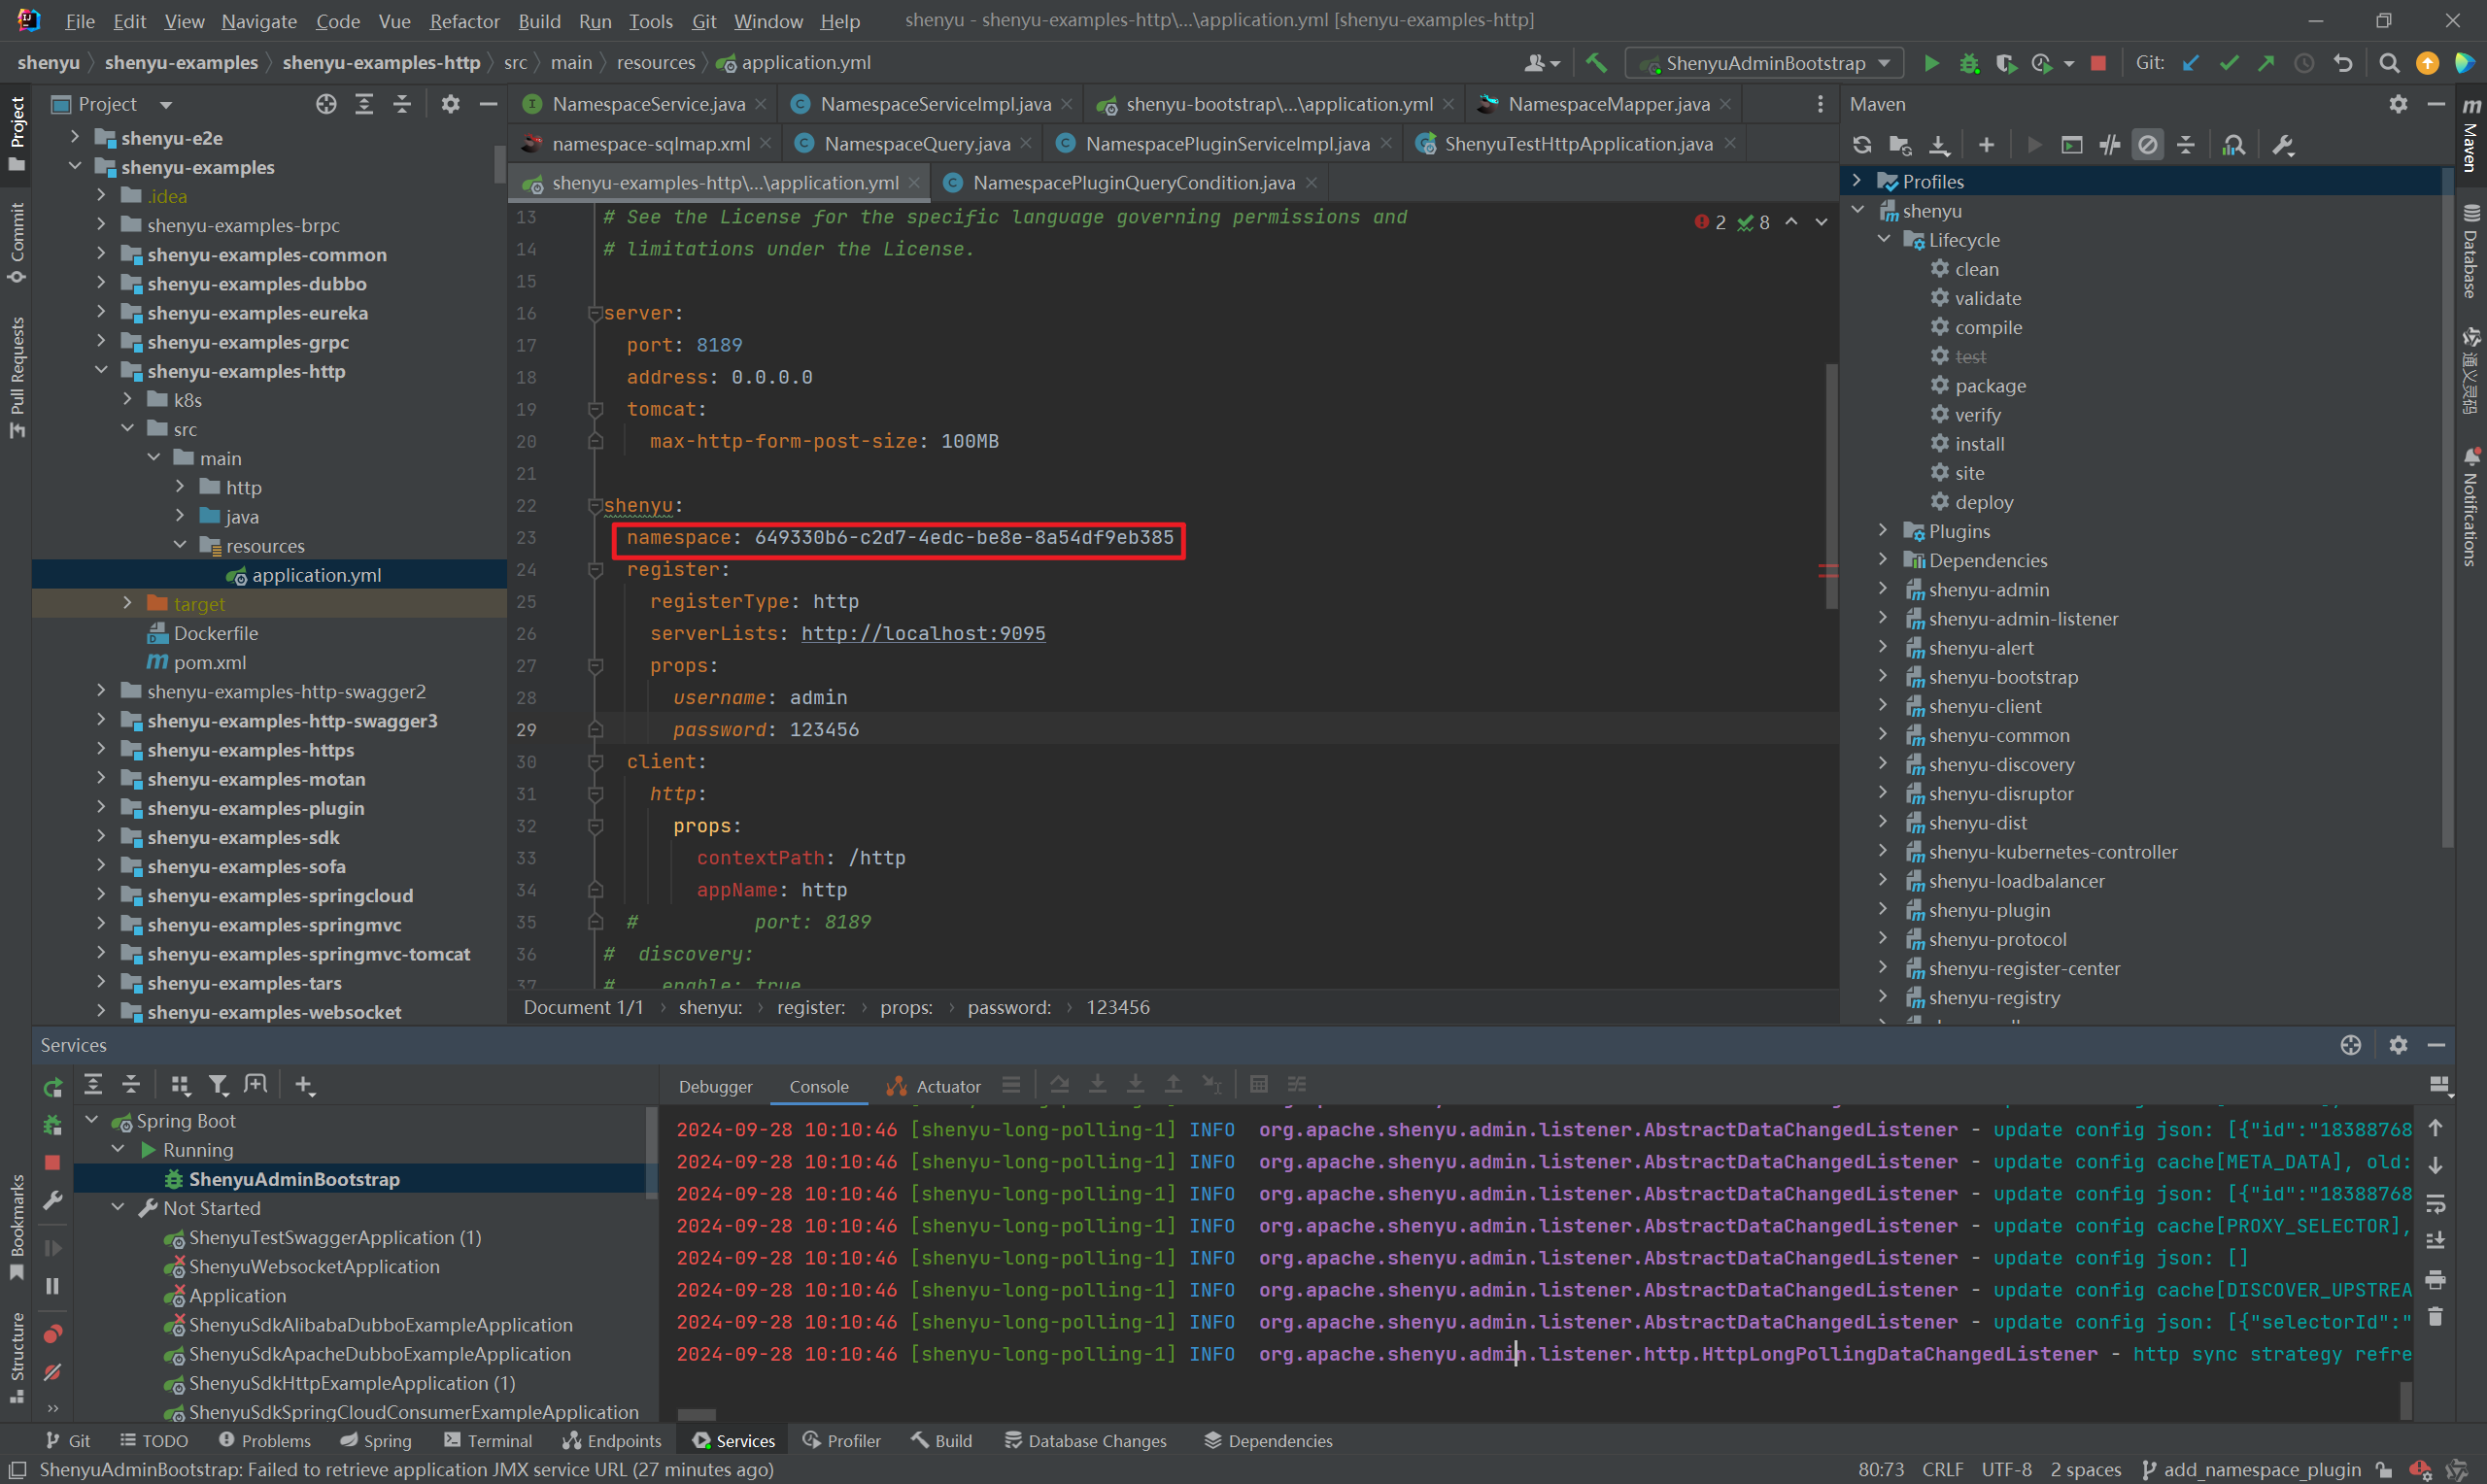
3.Manage Data the Namespace
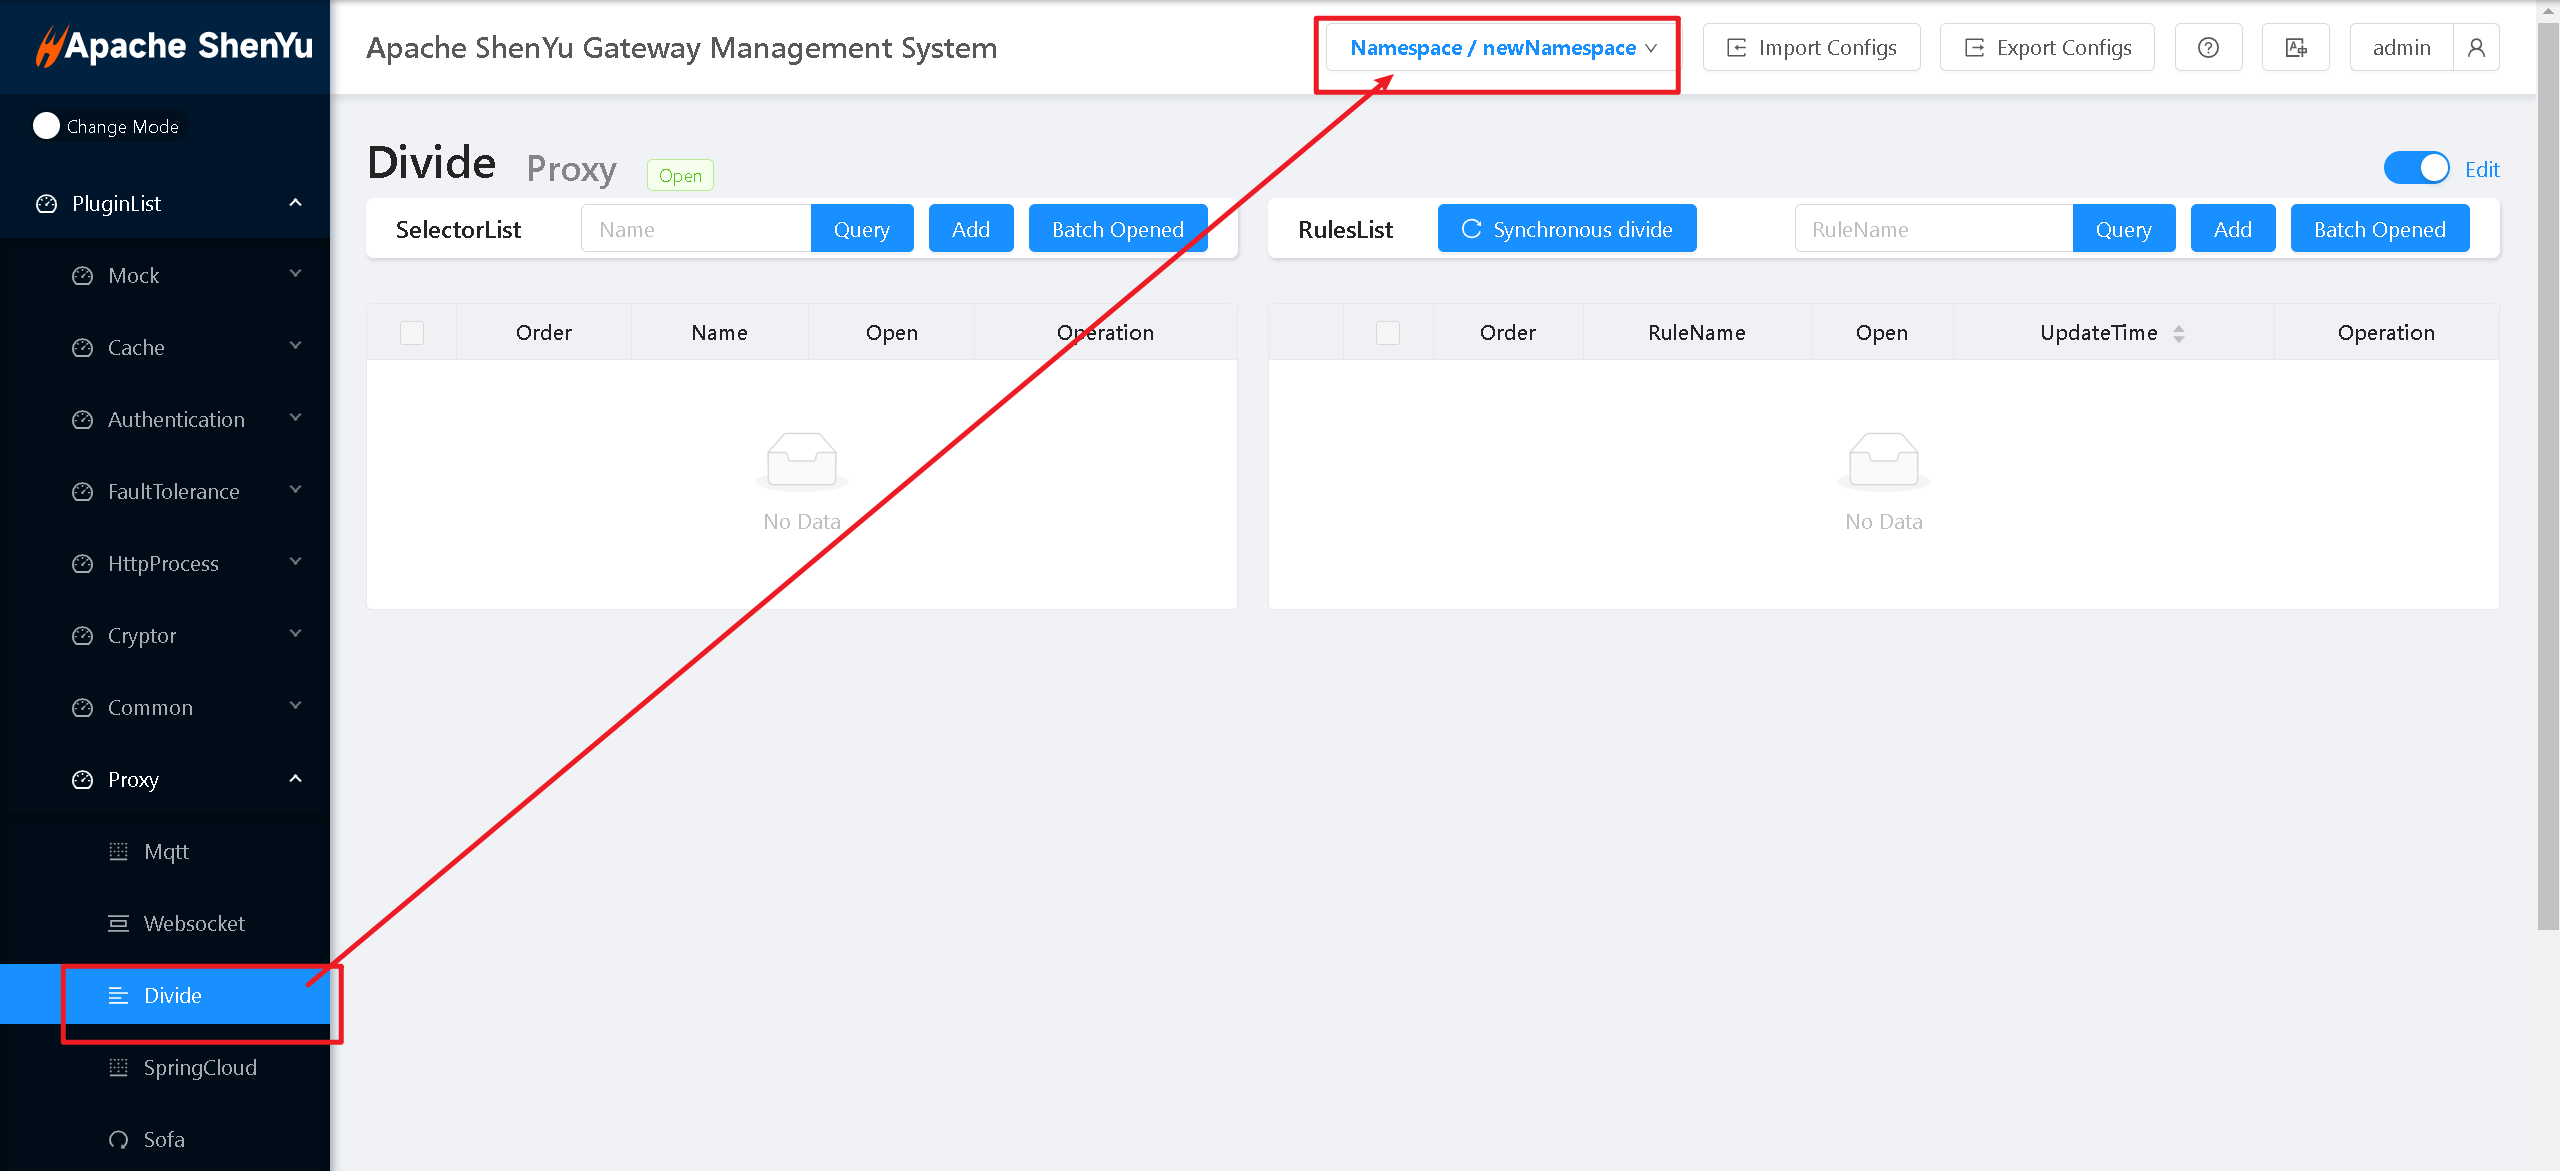
Once data from Shenyu-client is registered under the specified namespace in Shenyu-admin, the backend management supports isolated gateway data. Users can switch between different namespaces for operations via the button in the upper right corner.
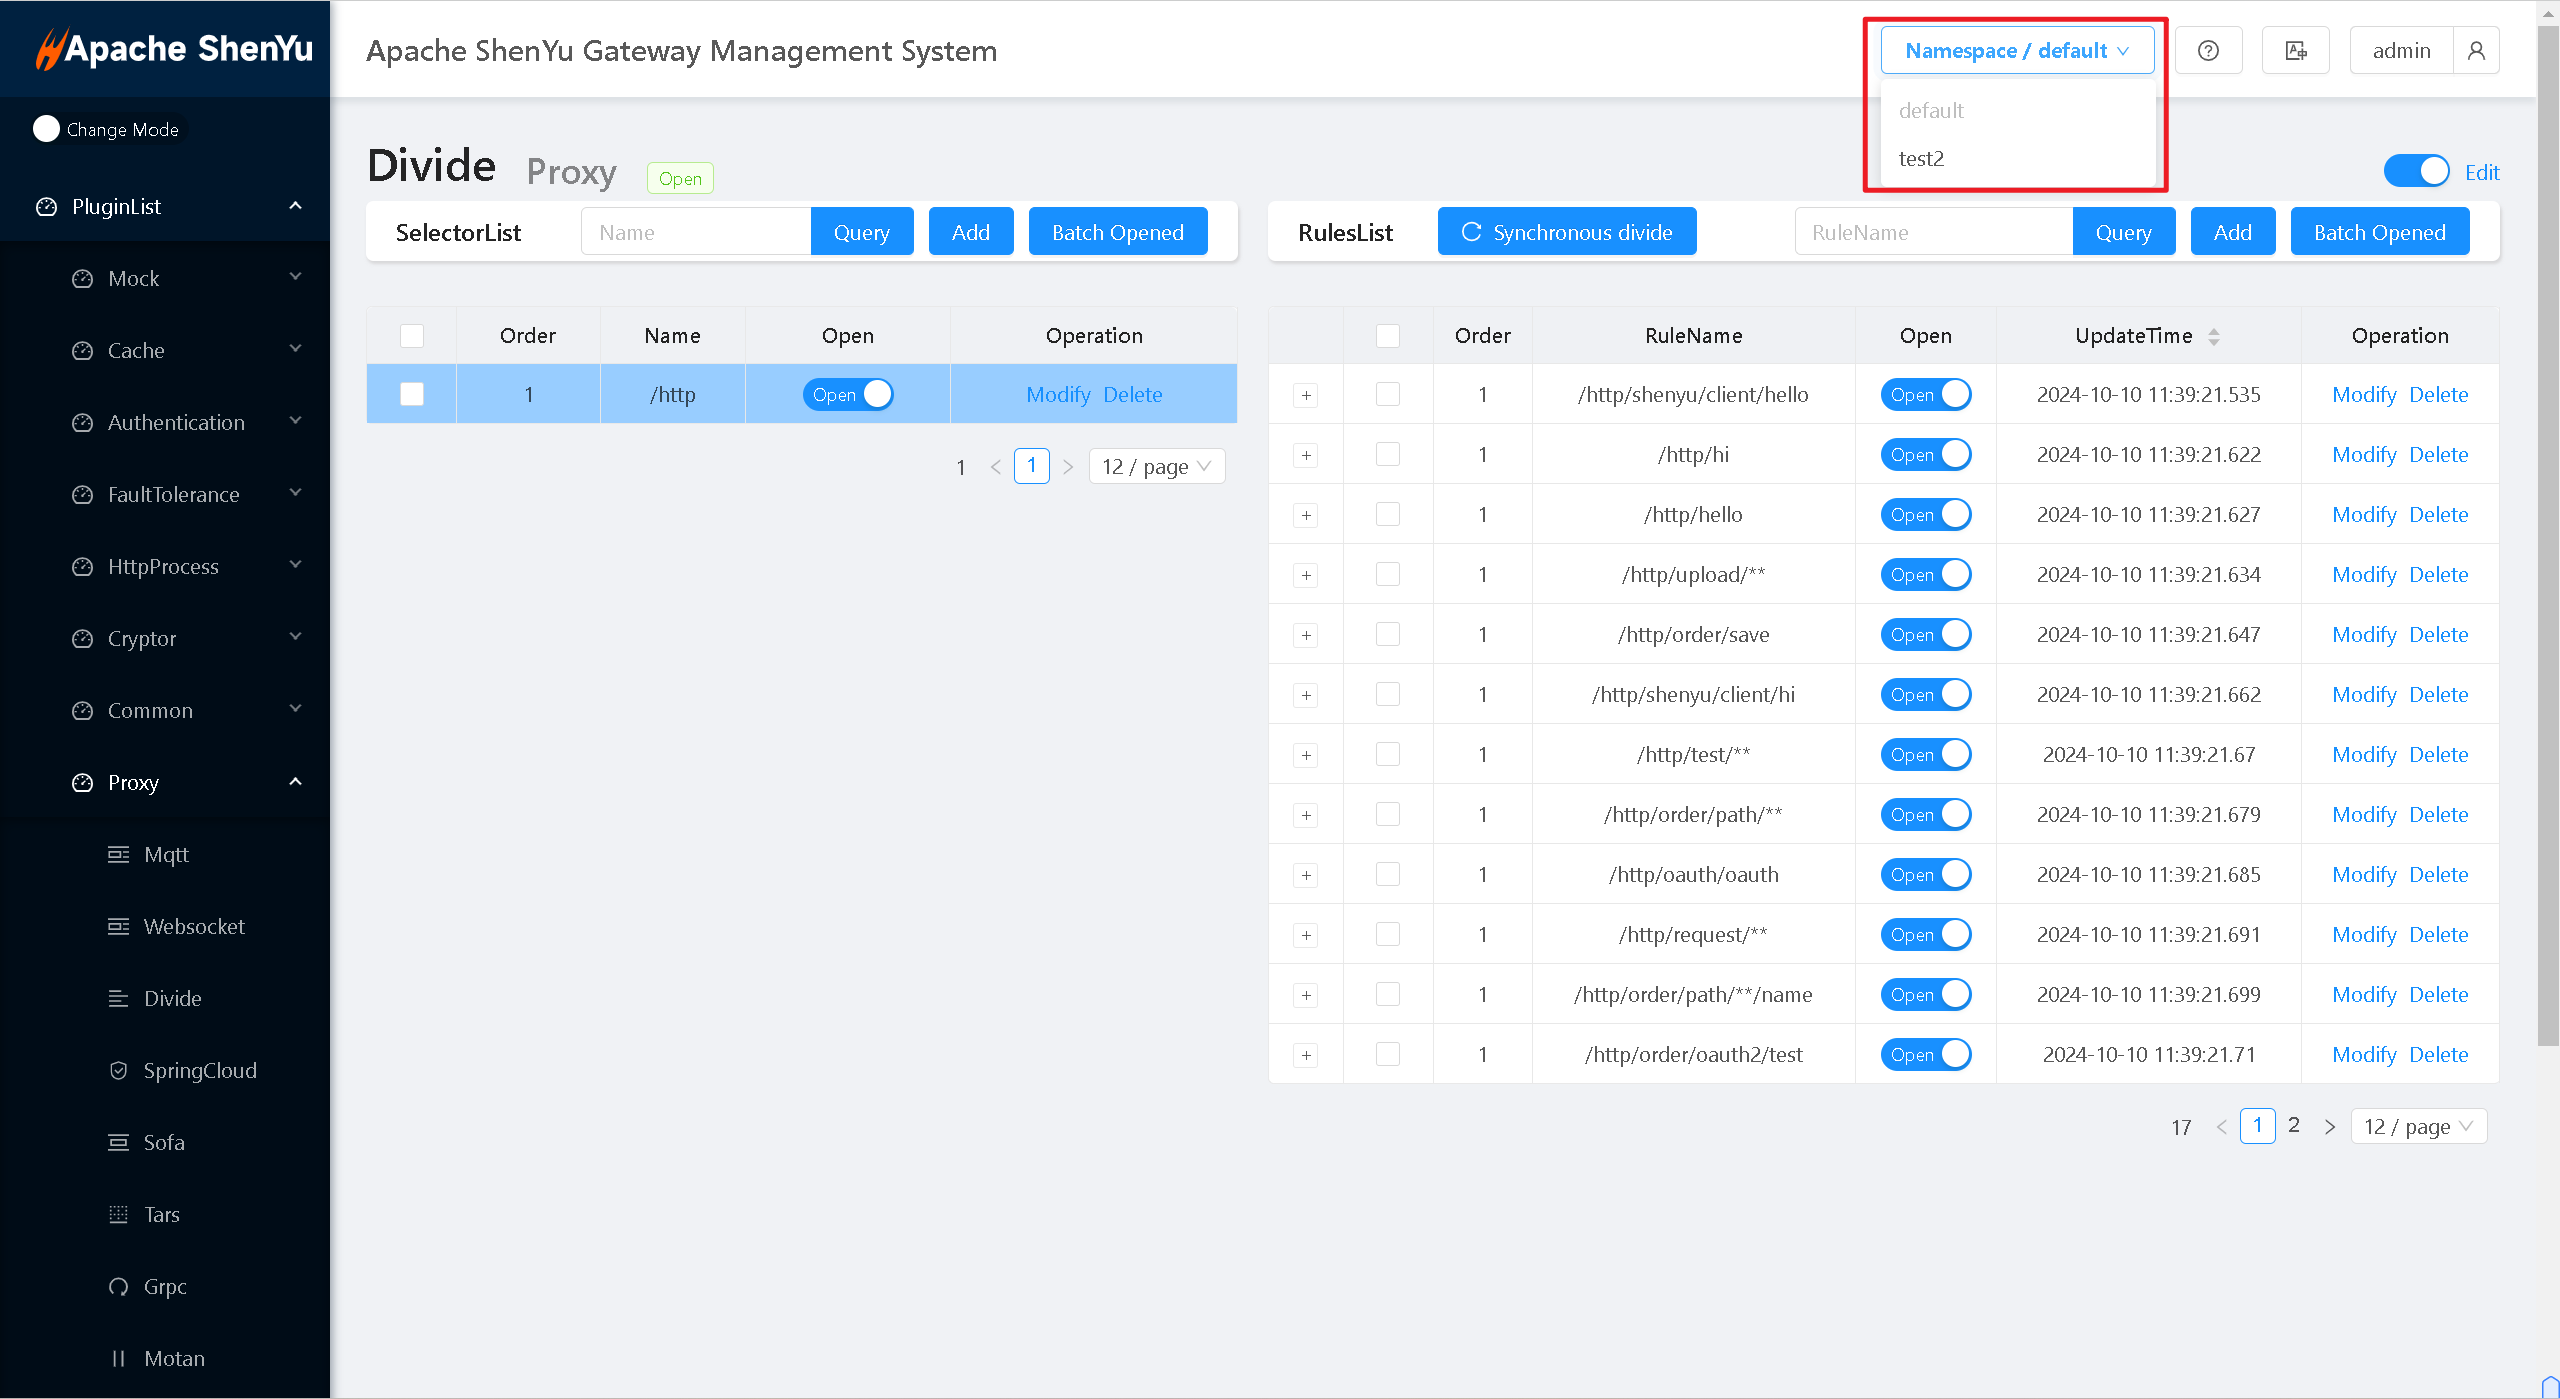
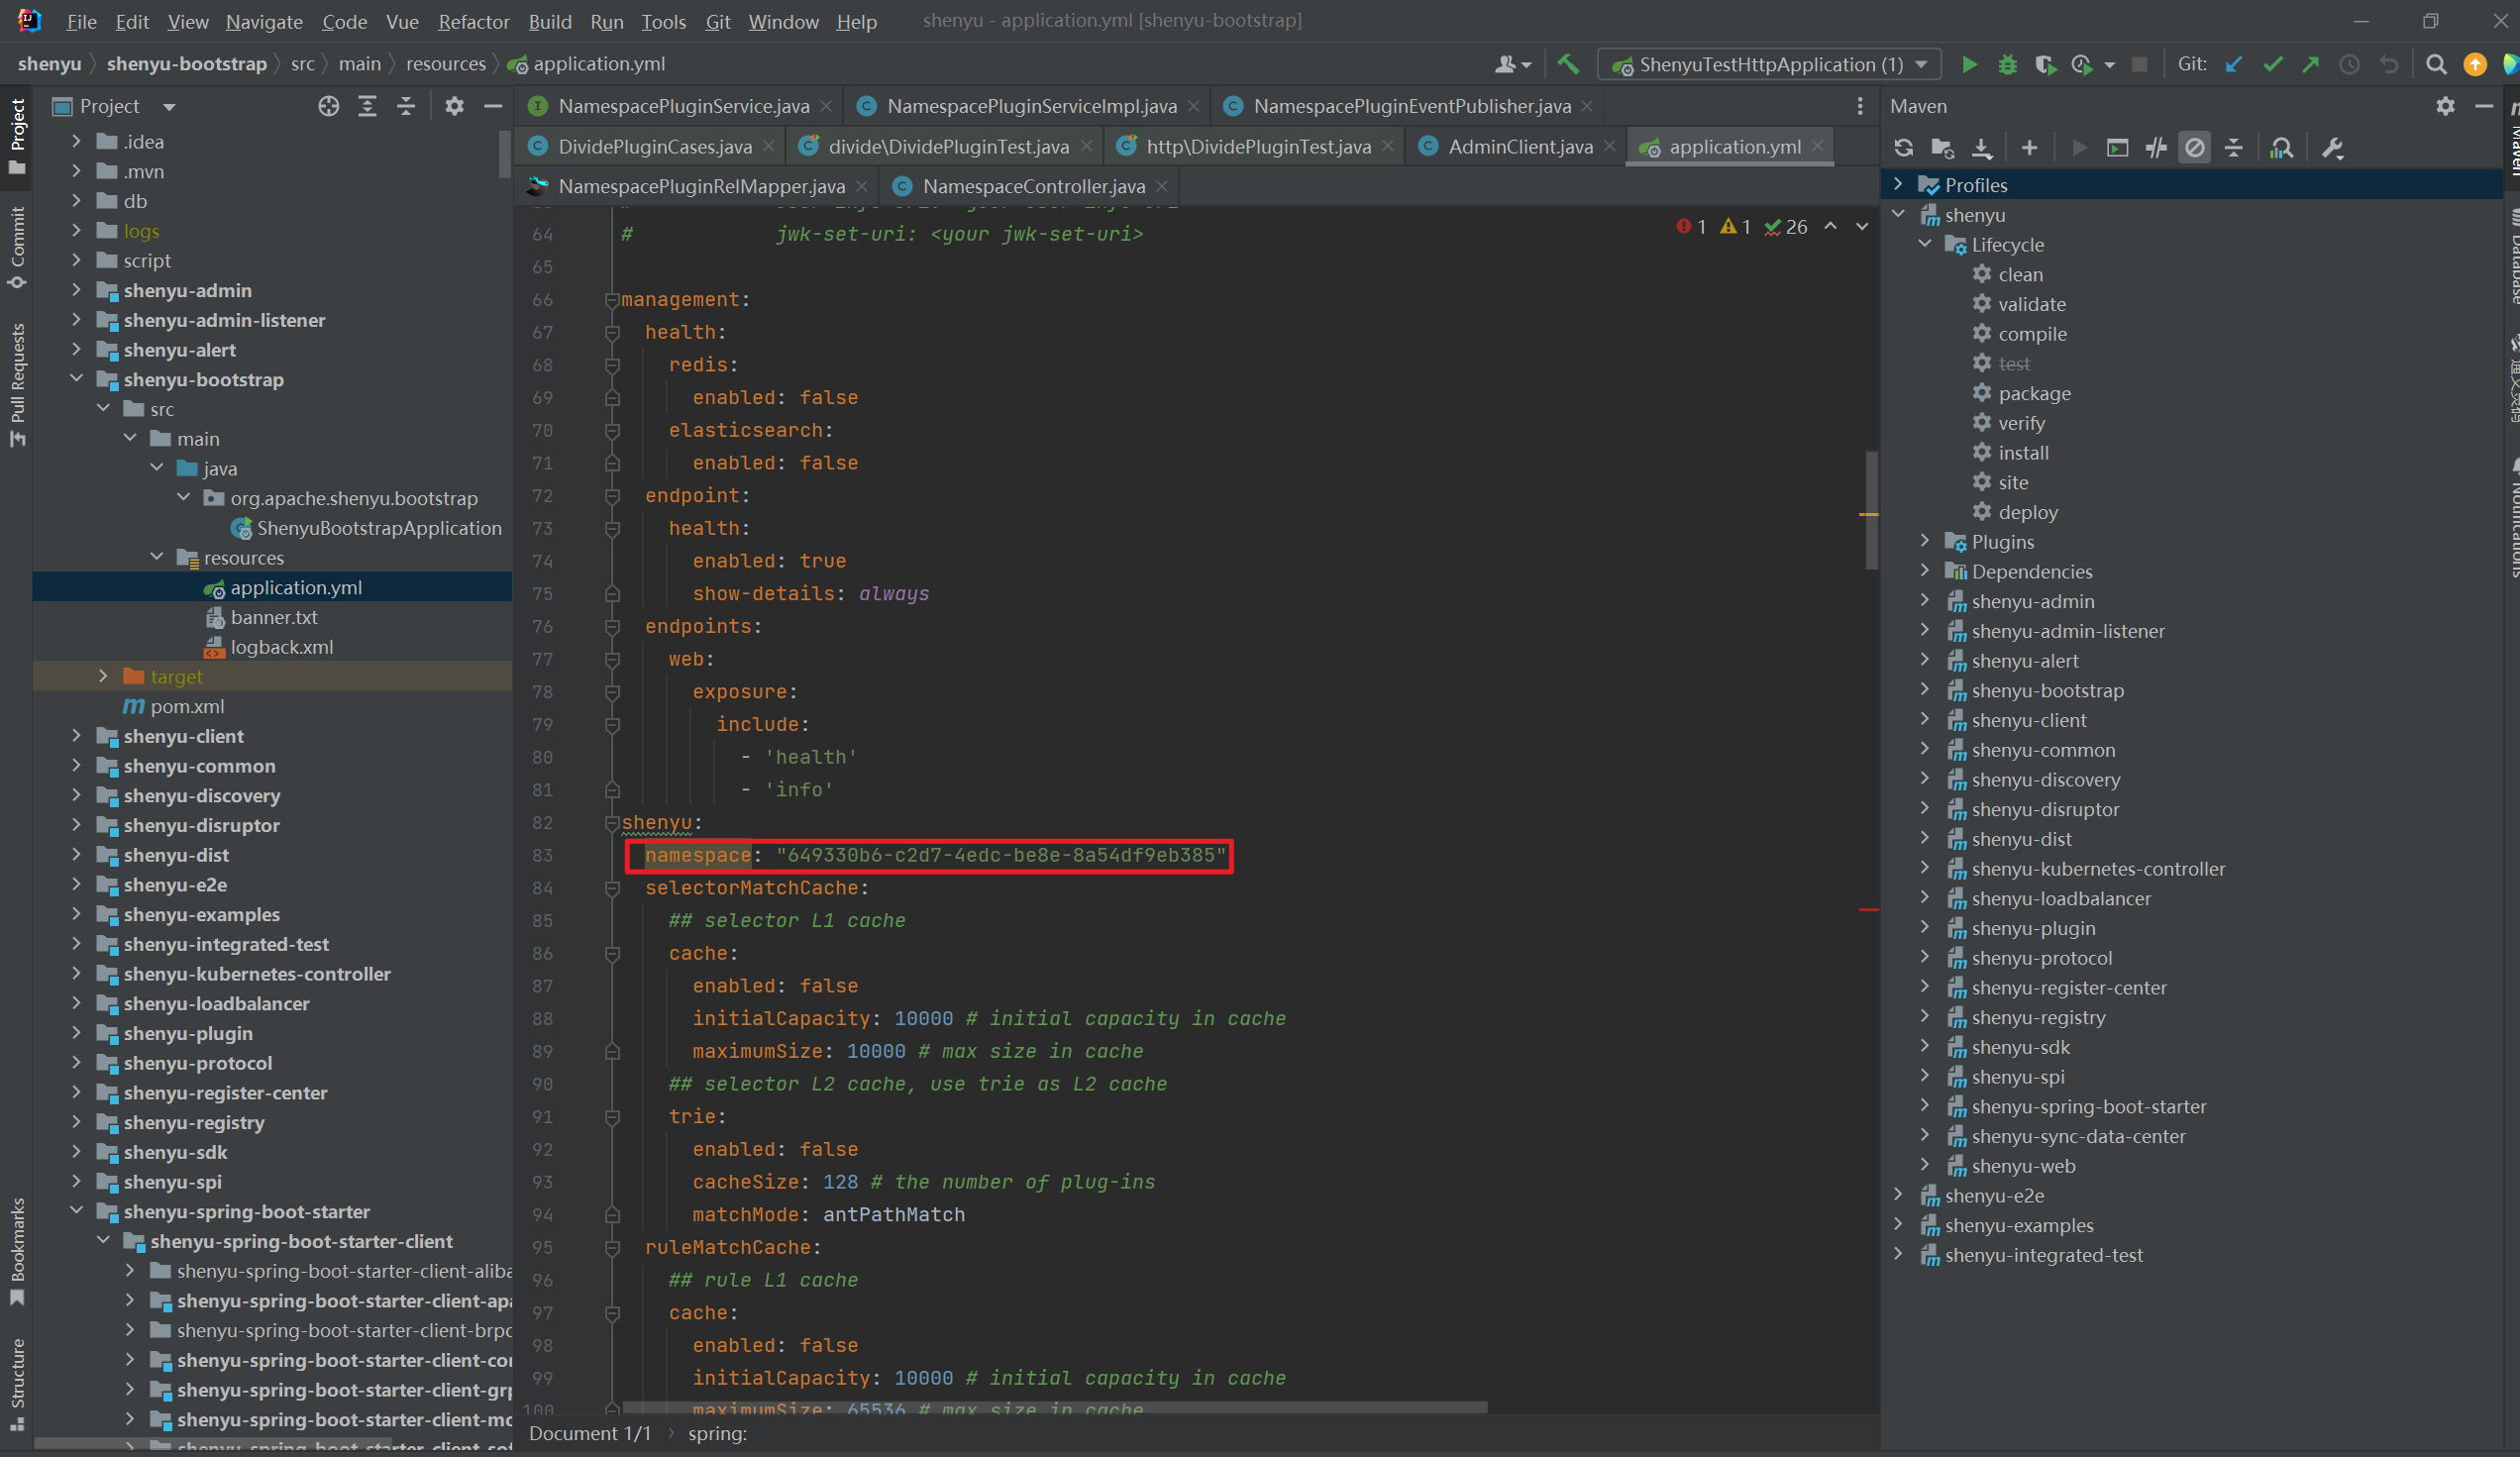
4.Configure Namespace for Gateway (bootstrap)
Note: A gateway can only bind to a single unique namespaceId
3.Plugin Management
1.Add a New Plugin
The plugin group under a new namespace is empty by default. To add a plugin to a namespace, you first need to select the option to generate it under the specific namespace in the plugin template.
Choose 【PluginTemplate】-【Generate】-【Select Target Namespace】
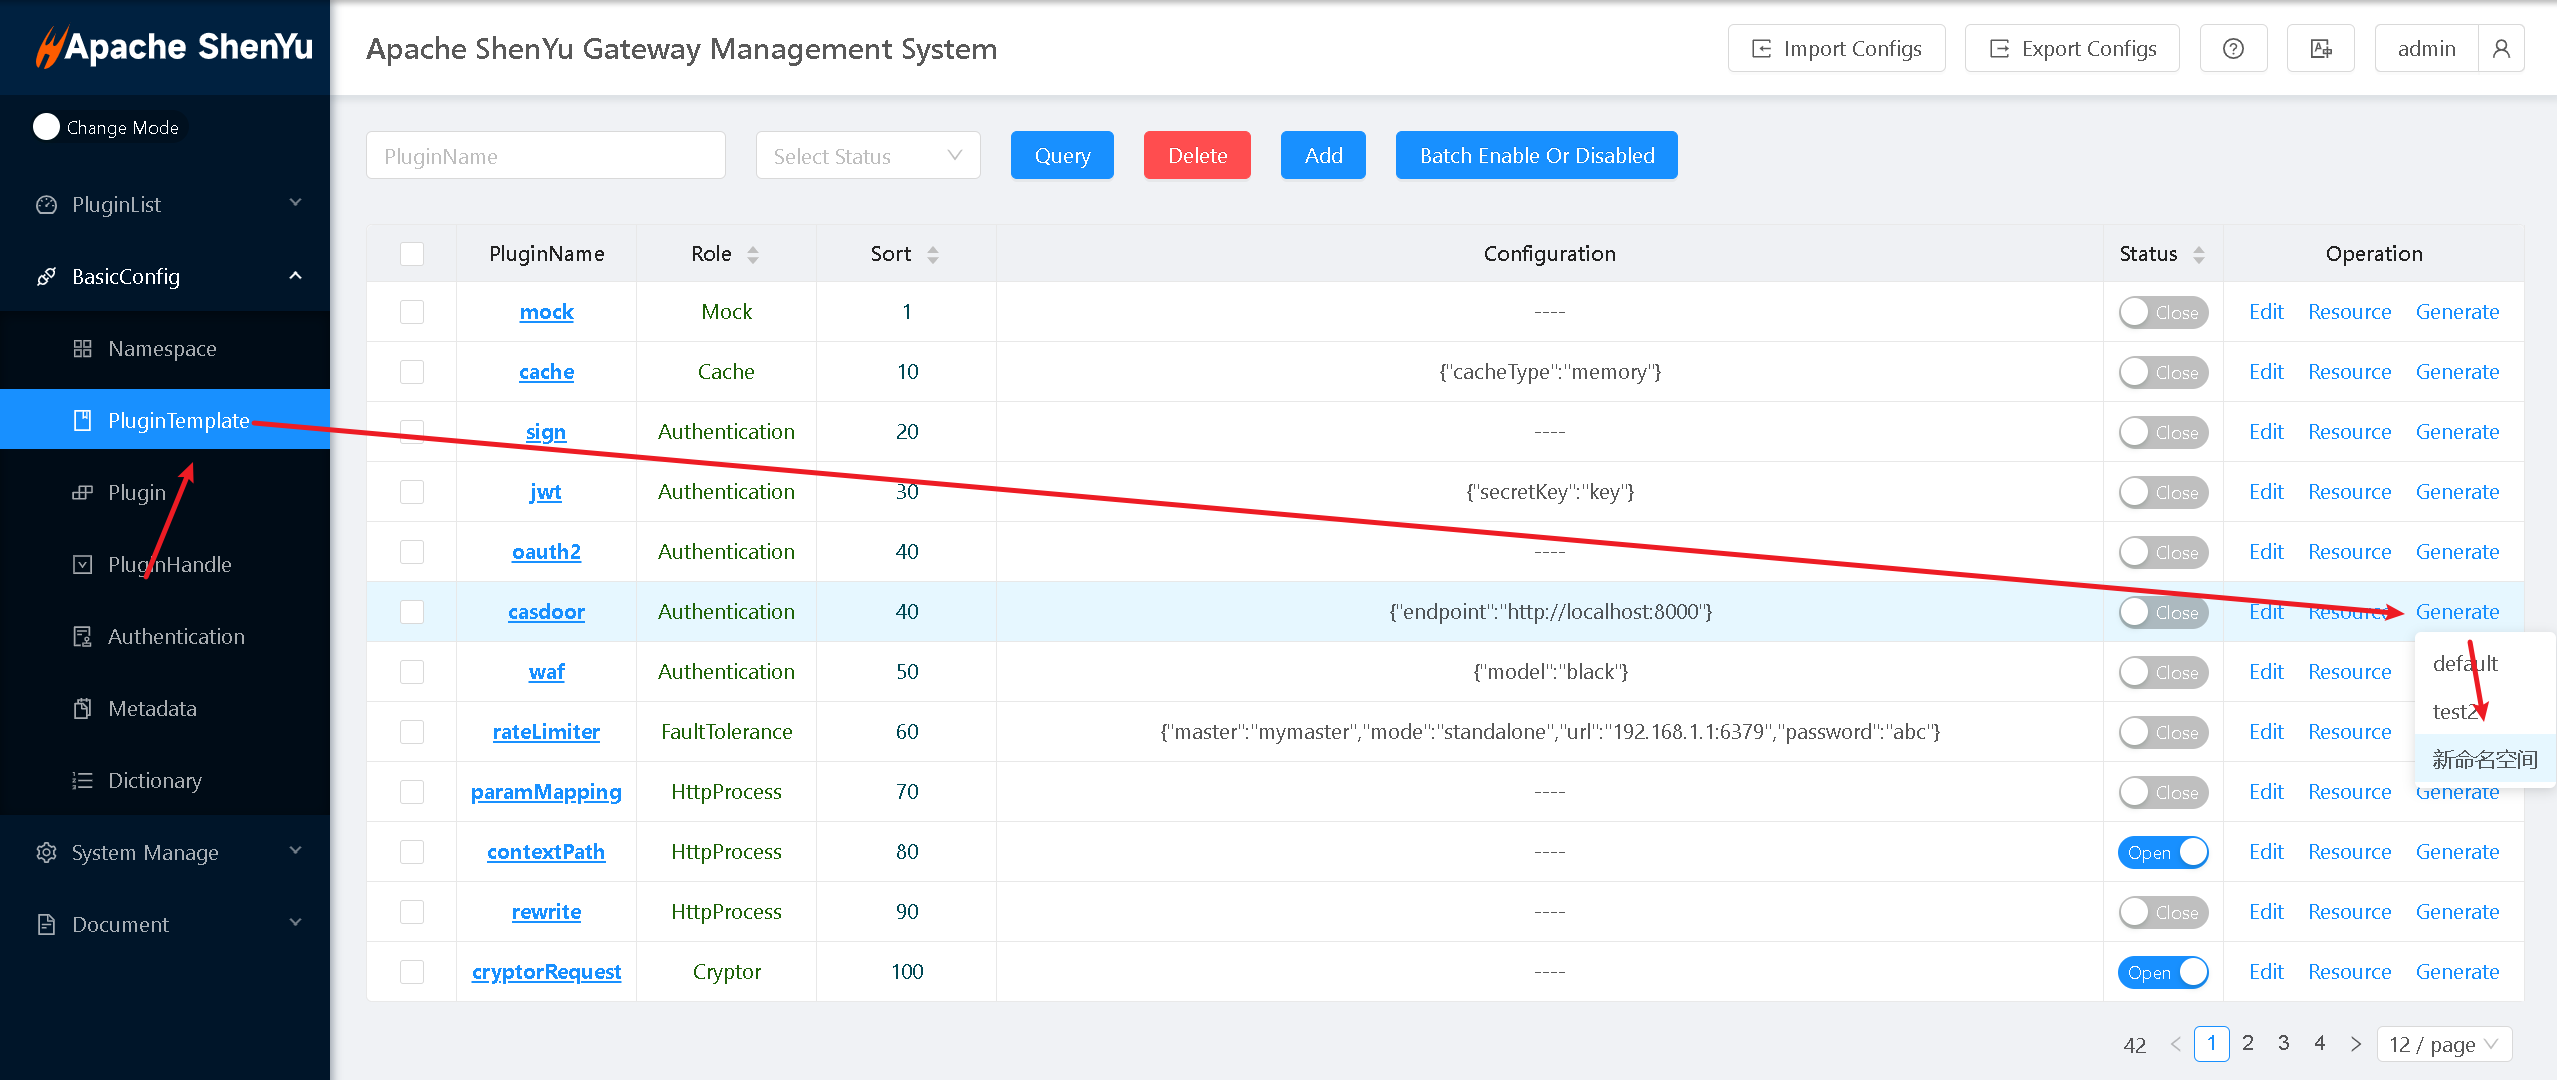
2.Switch Namespace
Switch namespaces via the component in the top-right corner.
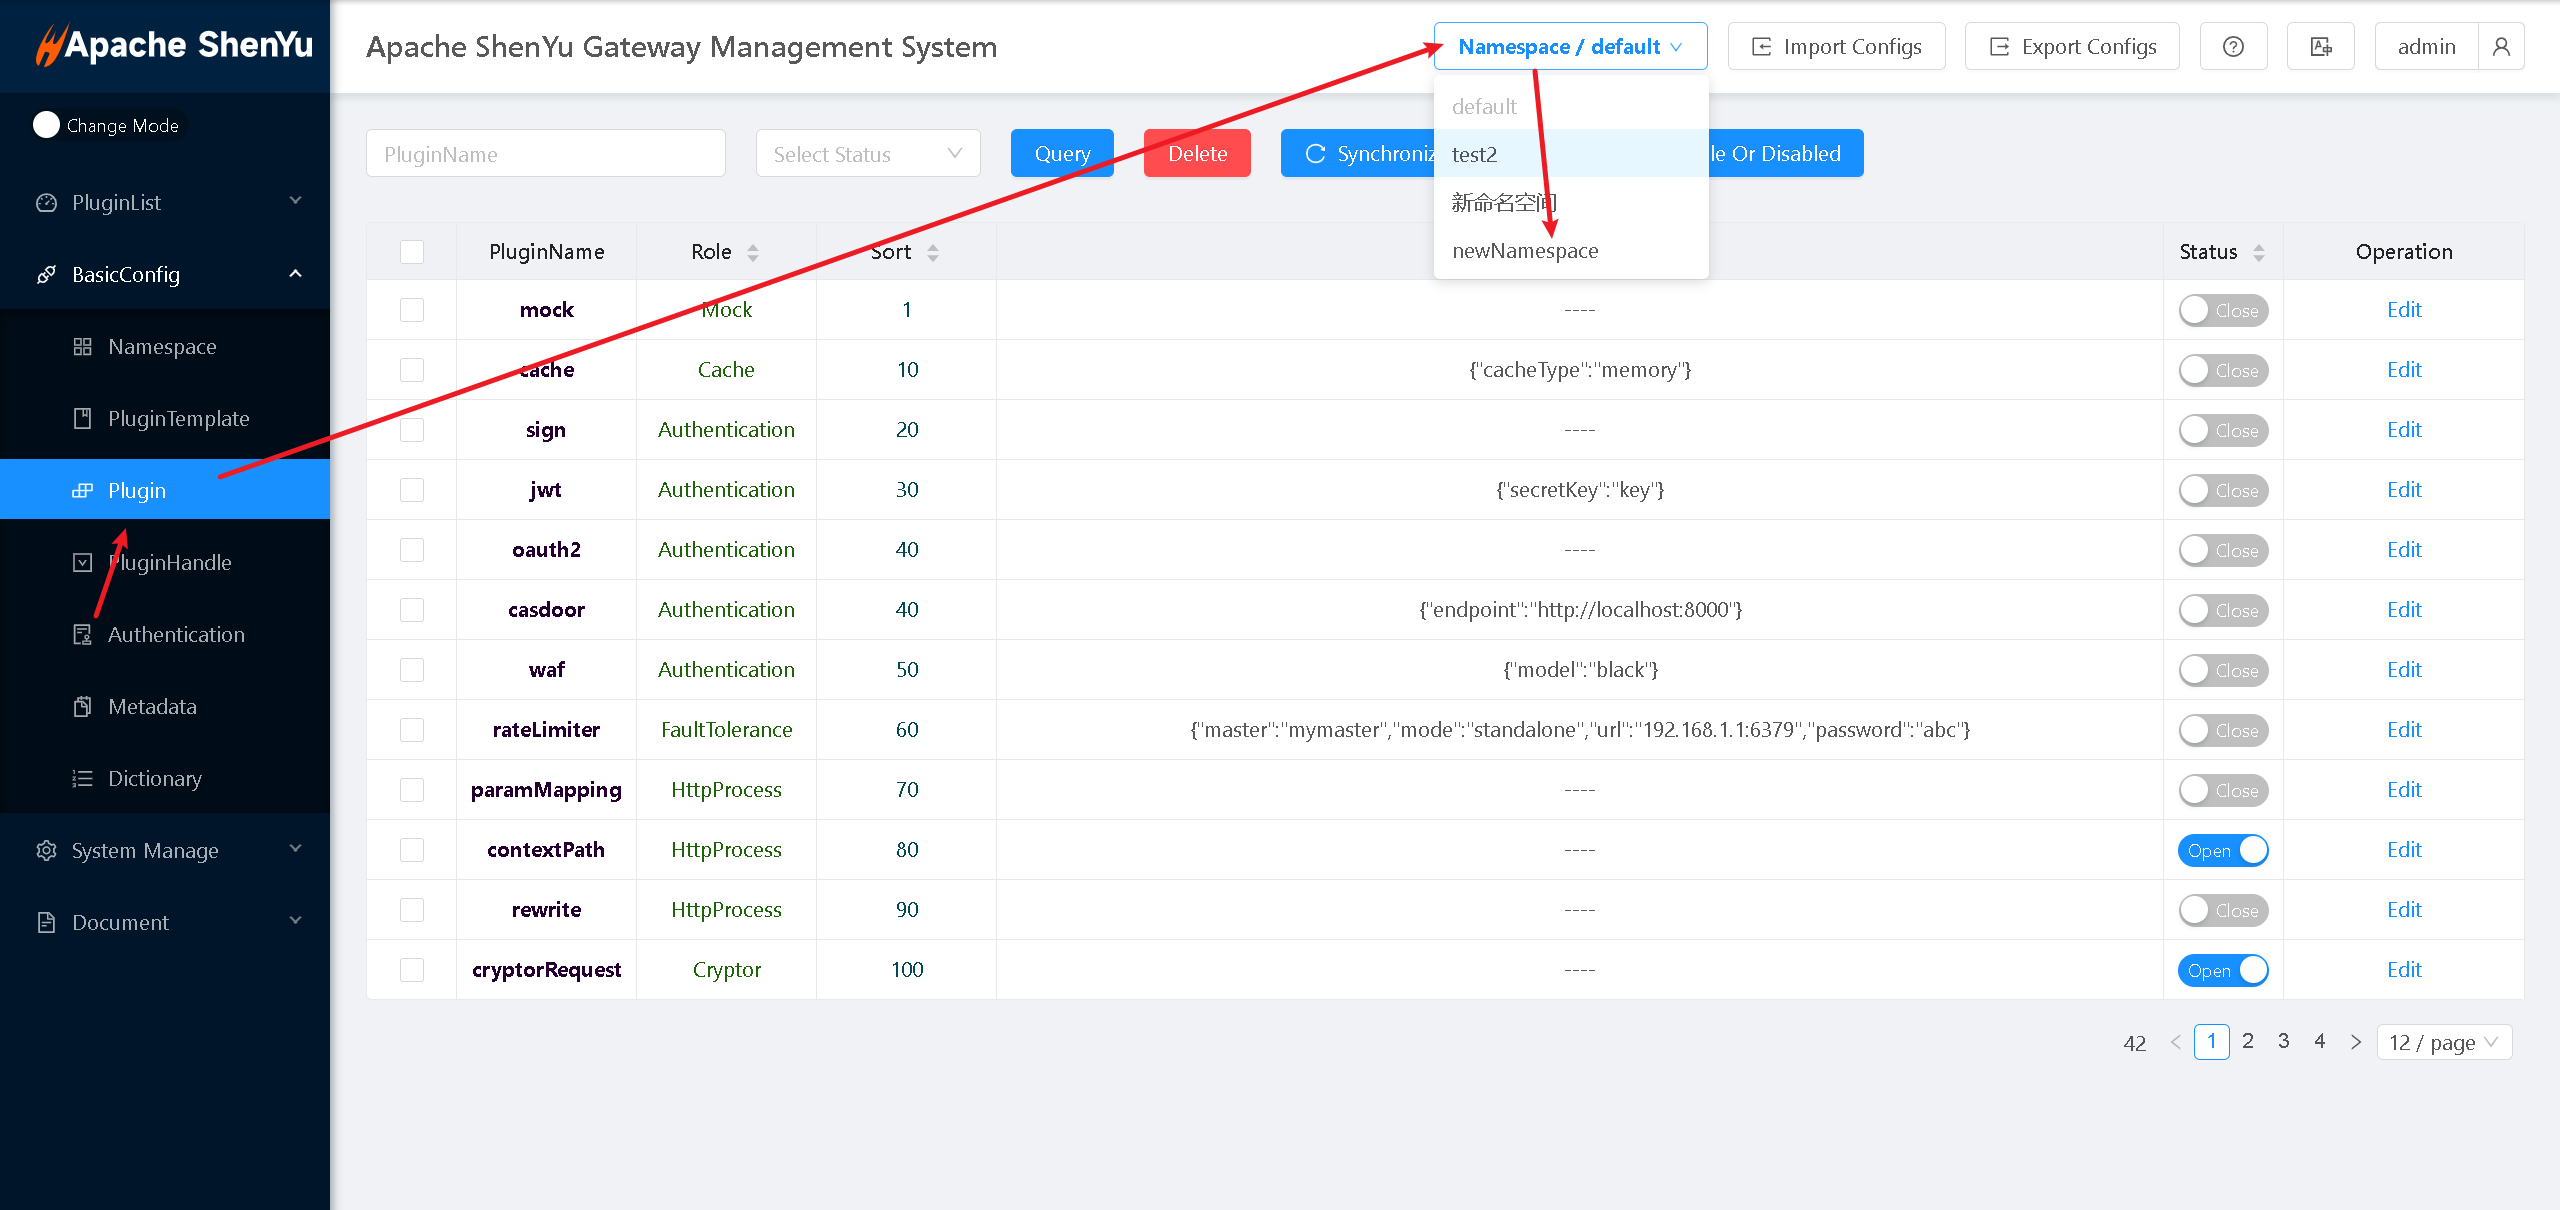
This allows you to manage the plugin status within the current namespace.
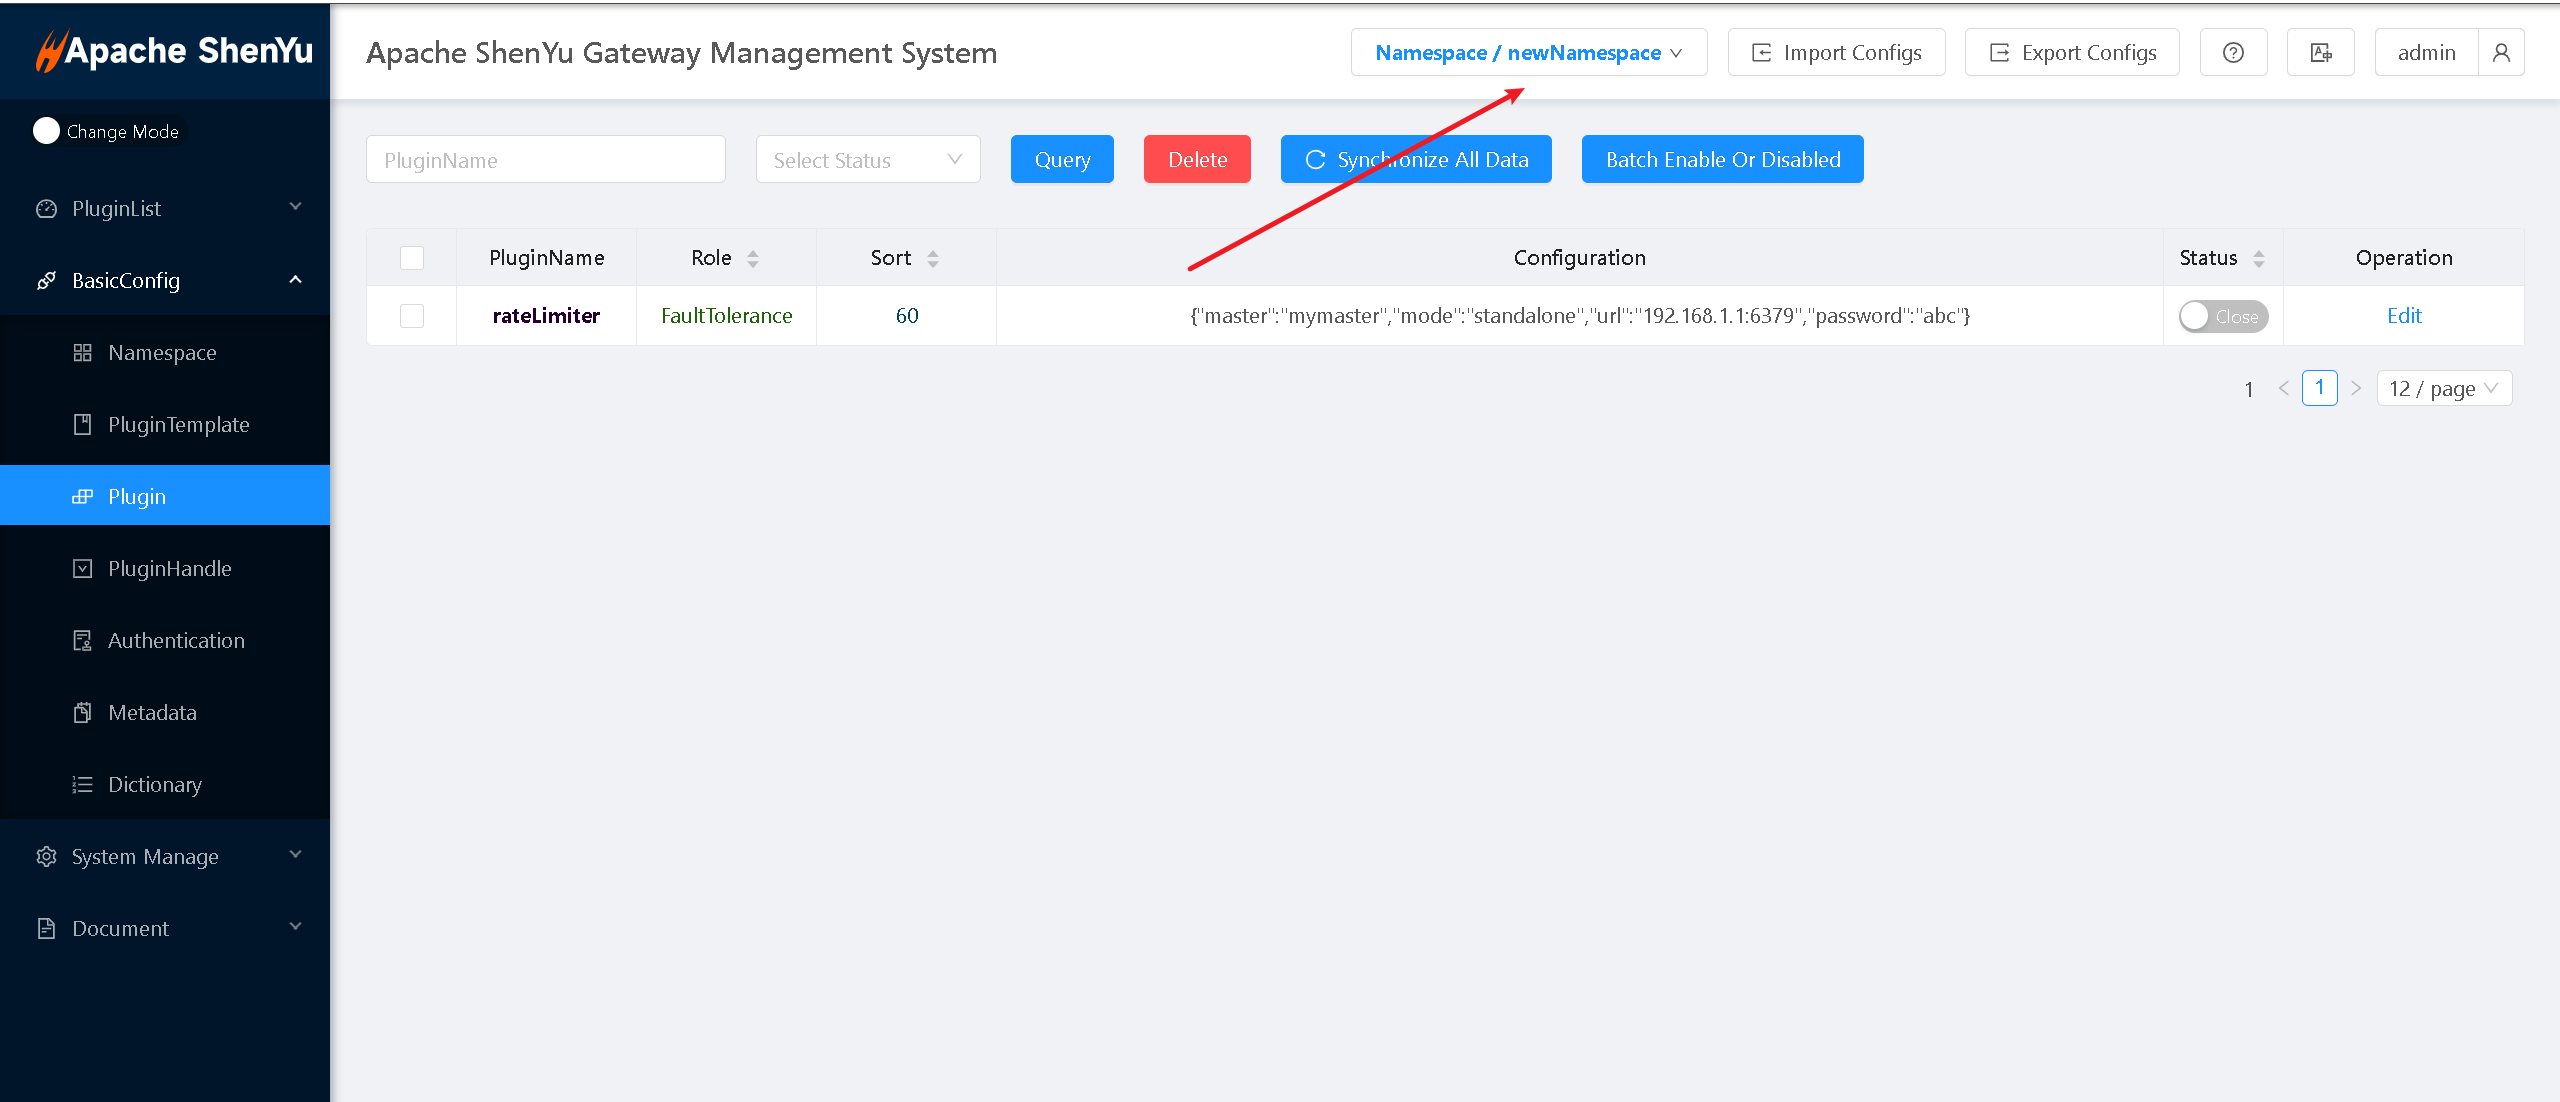
3.Other Gateway Data Management
Pages that display the namespace switch component in the top-right corner support namespace isolation. By switching namespaces via the component, you can manage gateway data for a specific namespace.
